When a fresh build finally boots, and you hear that sweet whirring of the fans, you know you’re about to unleash raw graphical horsepower. But as any power‑user knows, the joy of a new video card can turn into frustration the moment you encounter artifacting, driver crashes, or mysterious black screens. In 2026, the landscape has shifted: GPUs now juggle real‑time ray tracing, AI‑accelerated upscaling, and massive VRAM demands, all while sitting on motherboards that are themselves evolving at breakneck speed. My approach to troubleshooting starts with a mindset that treats the GPU as a living component—one that needs clear communication, proper power, and a clean software environment. I’ll walk you through the diagnostic flow I’ve honed over years of high‑performance builds, from sanity‑checking the BIOS to leveraging the latest driver telemetry tools. By the end, you’ll have a repeatable, step‑by‑step playbook that turns those dreaded “why‑won’t‑it‑work?” moments into quick, confident fixes.
Step 1: Verify Power Delivery and Physical Connections
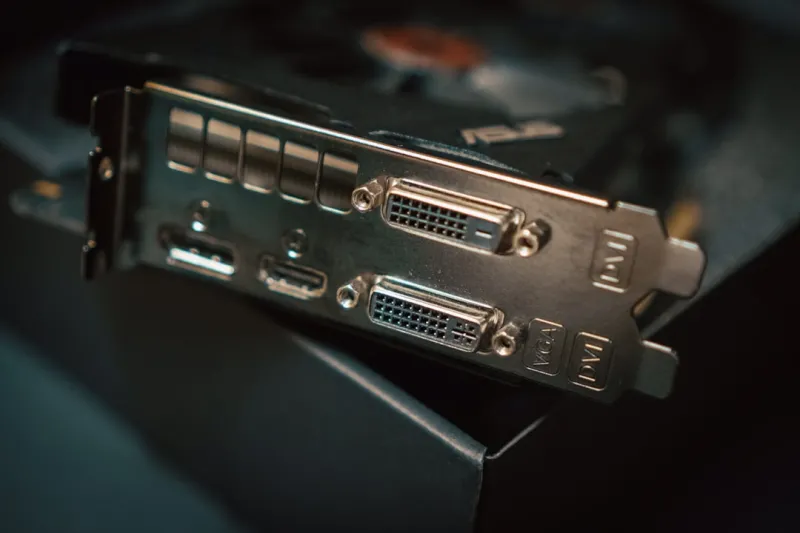
The first thing I do, and the step most people skip, is to confirm that the GPU is actually receiving the power it demands. Modern high‑end cards often require multiple 8‑pin or the newer 12‑pin connectors, and a single loose cable can manifest as intermittent crashes or a complete black screen. I recommend using a power‑meter clamp or a dedicated GPU power tester to measure voltage stability under load. Also, double‑check that the PCIe slot is firmly seated; a card that’s slightly askew can cause latency spikes that look like driver issues. While you’re at it, inspect the motherboard’s VRM heatsinks for dust buildup—overheating VRMs can throttle the entire system, affecting GPU performance. This physical audit saves hours of digging through logs later and often uncovers the culprit before any software sleuthing begins.
Step 2: Clean the Driver Stack
Drivers are the lingua‑franca between Windows and the graphics silicon, and in 2026 they’ve become more modular than ever. Yet this modularity also means legacy remnants can linger after a driver update, leading to conflicts. My go‑to method is a three‑phase purge: first, uninstall the existing driver via DDU (Display Driver Uninstaller) in Safe Mode; second, wipe the C:\Windows\System32\DriverStore\FileRepository folder of any orphaned NVIDIA/AMD/Intel packages; third, perform a clean install of the latest WHQL‑certified driver directly from the vendor’s site. This “clean slate” approach eliminates hidden mismatches that often cause the dreaded “driver crashed” alerts. For those who love automation, I’ve scripted a PowerShell routine that performs these steps with a single command—perfect for rapid deployment across multiple rigs.
Step 3: Monitor Real‑Time Telemetry and Log Files
Once the driver stack is pristine, I turn to telemetry. Tools like GPU-Z, MSI Afterburner, and the vendor’s own monitoring suite provide live readouts of temperature, clock speeds, and power draw. Pay special attention to spikes in power consumption that coincide with crashes; this can indicate a PSU that’s on the brink of sagging. Additionally, Windows Event Viewer and the dxgkrnl.sys logs reveal driver‑level errors that aren’t always surfaced in the UI. I habitually enable “Driver Verifier” for a brief test window to stress the driver and surface hidden bugs. If you see repeated “Display driver stopped responding and has recovered” entries, it’s a clear sign that either the driver or the hardware is under duress, and you can correlate those timestamps with telemetry spikes to pinpoint the fault.
Step 4: Assess Software Interference
In the age of AI‑assisted workflows, it’s easy to forget that background software can wreak havoc on GPU stability. Overlay programs (Discord, GeForce Experience, MSI Afterburner), hardware monitoring suites, and even some web browsers with hardware‑accelerated video can inject conflicts. I recommend a systematic isolation: boot into a clean Windows configuration with all non‑essential services disabled, then re‑introduce each overlay one at a time while monitoring stability. If you discover that a particular overlay triggers a crash, consider updating it, disabling its hardware acceleration, or replacing it with a lighter alternative. Also, watch out for malware that masquerades as “GPU miner”—these can silently tax the card and cause erratic behavior. A quick scan with a reputable anti‑malware tool can save you from a nightmarish debugging session later.
Step 5: Dive Into BIOS and Firmware Updates
Motherboard firmware isn’t just about CPU compatibility; it also defines how the PCIe lanes negotiate bandwidth with the GPU. In 2026, many boards now support PCIe 5.0 with dynamic link width scaling, and a mismatched BIOS can throttle a card to PCIe 3.0 speeds, reducing performance and occasionally causing stability issues. Check the motherboard manufacturer’s site for the latest BIOS that explicitly mentions “PCIe 5.0 stability” or “GPU compatibility.” Likewise, GPU firmware updates—often rolled out under the banner of “enhanced ray‑tracing performance”—can resolve microcode bugs that manifest as artifacting under heavy loads. I keep a spreadsheet of firmware versions for each component in my rigs, so I can quickly verify that I’m running the most stable combination. When you flash firmware, always back up the existing version in case you need to roll back.
Step 6: Stress Test with Real‑World Workloads
Synthetic benchmarks are useful, but they don’t always replicate the pressures of a real workflow. I prefer to stress test using the exact applications I run daily—be it Unreal Engine 5 projects, Blender renders with AI‑denoising, or high‑refresh‑rate gaming sessions with DLSS 3 enabled. Run each workload for at least 30 minutes while monitoring telemetry and logging any anomalies. If you encounter frame drops, visual glitches, or sudden driver resets, note the exact scene or shader that triggered it; this data is invaluable when reaching out to vendor support. For those who want a quick yet thorough test, tools like modern video card troubleshooting suites combine synthetic stress with real‑world scenario simulations, giving you a comprehensive health report.
Step 7: Evaluate Cooling Solutions and Thermal Paste
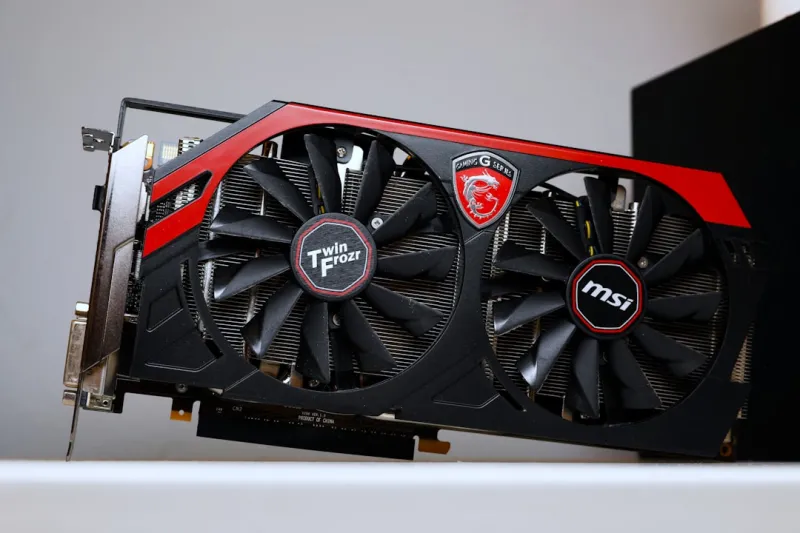
Even the most robust cooling solution can falter if the thermal interface material (TIM) is improperly applied. In my experience, a thin, uneven layer of paste can cause hot spots that push the GPU beyond its thermal ceiling, prompting throttling or shutdown. I recommend removing the existing cooler, cleaning the die with isopropyl alcohol, and applying a pea‑sized amount of high‑quality TIM like Arctic MX‑5. Re‑attach the cooler with even pressure, and verify that the fan curve is set appropriately in the vendor’s control panel. For extreme overclockers, consider adding a dedicated VRM cooler or even a liquid‑cooling loop that includes a GPU block. Remember, thermal performance isn’t just about temperature—it directly impacts voltage stability and, consequently, overall system reliability.
Step 8: Plan for Future‑Proof Upgrades
Finally, look ahead. The rapid evolution of GPU architectures means today’s “top‑of‑the‑line” can become tomorrow’s bottleneck. When you’re planning a refresh, ask yourself whether your current PSU, case airflow, and motherboard can accommodate the next generation’s power and bandwidth needs. I often cross‑reference the future‑proof PC upgrades guide to ensure I’m not overspending on a component that will be limited by another. Also, consider modularity: a PCIe‑5.0 riser or a 12‑pin to 8‑pin adapter can buy you extra time before a full system overhaul. By taking a strategic view now, you’ll avoid the dreaded scenario where a perfectly healthy GPU is held hostage by an under‑powered power supply or an outdated chassis.
Step 9: When All Else Fails, Leverage Community Knowledge
Even the most seasoned power‑users hit dead ends. The beauty of the tech community in 2026 is its collaborative spirit—forums, Discord channels, and subreddits are brimming with specialists who have tackled obscure GPU quirks. When you’ve exhausted the systematic checks, gather your logs, telemetry screenshots, and a concise description of the issue, then post on the appropriate channel. Include links to relevant resources like high‑end GPU failures articles you’ve consulted, as this provides context and shows you’ve done your homework. Most vendors also have dedicated support portals that now incorporate AI‑driven triage, speeding up response times. By presenting a well‑documented case, you not only increase your chances of a swift resolution but also contribute to the collective knowledge base that helps the next power‑user avoid the same pitfalls.