When a motherboard throws a tantrum, it feels like the heart of the whole system has gone rogue. As a lifelong power‑user and the guy who’s spent countless nights coaxing every last ounce of performance from custom rigs, I’ve learned that the board is both the silent hero and the most temperamental component. In 2026, with DDR5, PCIe 5.0, and increasingly complex firmware, the troubleshooting playbook has expanded beyond simple “reset the CMOS” tricks. This article walks you through the modern diagnostic process, from the most obvious symptoms to the hidden quirks that only a seasoned enthusiast notices. Whether you’re rescuing a high‑end workstation or a modest build that’s suddenly dead, the systematic approach I share will save you time, money, and the frustration of endless “it works on my other machine” excuses.
Identify the Symptoms Before You Tear Anything Apart
Before you grab a screwdriver, take a step back and catalog exactly what’s happening. A motherboard that refuses to POST, one that randomly reboots under load, or a board that powers up but shows a black screen each time tells three very different stories. In my experience, a total lack of POST often points to power delivery or a fatal BIOS error, while intermittent reboots usually hide in the VRM thermal limits or memory stability. Pay attention to any beep codes or LED indicators; many modern boards ship with diagnostic LEDs that spell out the offending subsystem in colors. Document the exact sequence—was a new GPU installed, did the system survive a power outage, or did you just apply a BIOS update? This forensic mindset mirrors the methodical approach I use when I’m building a future‑ready rig, as detailed in my guide on Building a Future‑Ready Power‑User PC. A clear symptom map will dramatically narrow the field of suspects.
BIOS/UEFI: The First Line of Defense
The firmware layer is the gatekeeper that decides whether hardware gets a chance to run. In 2026, most boards support both legacy BIOS and UEFI, with features like Secure Boot and advanced overclocking knobs. Start by entering the firmware setup; if you can’t get there, try a blind reset of the CMOS—either via the jumper or by removing the battery for a minute. Many manufacturers now include a “BIOS Flashback” button that lets you re‑flash firmware without a CPU, which can be a lifesaver if a corrupted update caused the lock‑up. While you’re in the UI, disable any fast‑boot options and enable “Full POST” to force the system to run all initialization checks. Don’t overlook the option to load the default “Optimized Defaults” profile; this often clears hidden tweaks that were inadvertently left from a previous overclock. A clean firmware state provides a reliable baseline before you dive deeper into hardware diagnostics.
Power Delivery and VRM Health: Don’t Overlook the Basics
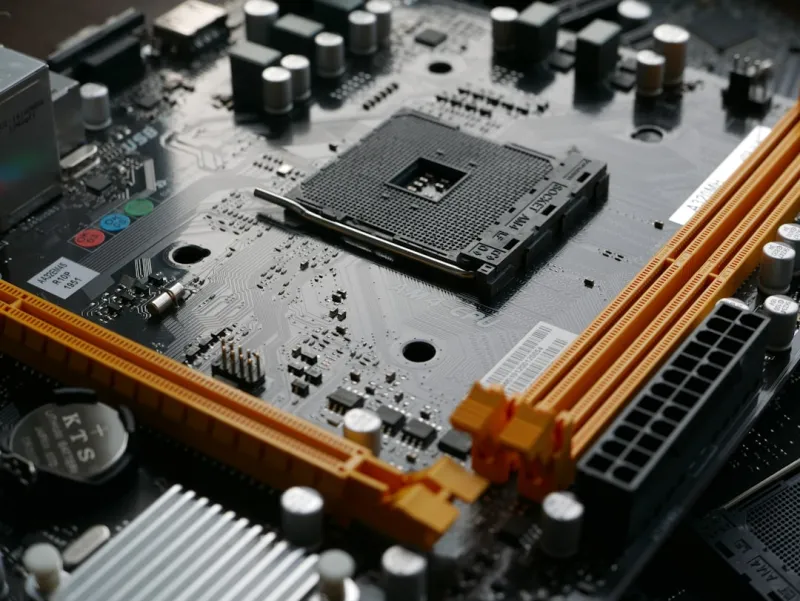
Power is the lifeblood of any motherboard, and in the era of power‑hungry CPUs like the latest 14‑core Zen 4 derivatives, the VRM (Voltage Regulator Module) must stay cool and stable. Begin by confirming that the 24‑pin ATX connector, the 8‑pin (or 4‑plus‑4) CPU power cable, and any auxiliary GPU power rails are fully seated. A loose pin can cause the board to boot, then immediately shut down under load. Use a multimeter or a dedicated power‑rail tester to verify that the voltage rails (12 V, 5 V, 3.3 V) are within spec. If you notice the VRM heat sinks are unusually hot, consider improving airflow or applying a high‑quality thermal pad—many boards now ship with VRM heat pipes that can be upgraded. Remember that a failing PSU can masquerade as a motherboard problem, so swapping in a known‑good unit is a quick sanity check before you replace expensive components.
Memory Compatibility: The Silent Culprit
Even the best‑rated DDR5 kits can cause a board to refuse to boot if the timings, voltage, or rank configuration aren’t supported. First, consult the motherboard’s QVL (Qualified Vendor List) and match your DIMM’s speed and CAS latency. If you’re running XMP profiles, try disabling them and manually setting the memory to JEDEC‑standard speeds; this often reveals whether the issue is a BIOS incompatibility or a faulty stick. Test each module individually in the primary DIMM slot—most boards label this slot as “DIMM A1” and prioritize it during POST. If you have a dual‑channel configuration, swap the sticks to rule out a single‑slot failure. In cases where the board repeatedly fails with a specific module, you may be dealing with a subtle signal integrity problem, which can sometimes be mitigated by adjusting the DRAM voltage in small increments (e.g., +0.05 V). Keeping a meticulous log of each configuration change will make it easier to spot patterns.
PCIe Slot Interaction: GPU and Beyond
The graphics card is often the most demanding peripheral, and a malfunctioning PCIe slot can masquerade as a motherboard failure. Start by reseating the GPU and ensuring the latch clicks into place. Verify that the slot’s power pins are clean—tiny debris can prevent proper contact. If the board has multiple PCIe x16 slots, move the GPU to an alternate slot to see if the issue follows the card or stays with the slot. Check the BIOS for “PCIe Link Speed” settings; forcing the slot to run at Gen 4 instead of the default Gen 5 can sometimes stabilize an older GPU. For deeper diagnostics, I often cross‑reference the process with my Troubleshooting Video Cards guide, which outlines how to isolate GPU‑related POST failures from board‑level issues. Don’t forget to update the GPU’s firmware as well—some newer cards require a Windows‑based utility that can be run in safe mode if the OS won’t load.
Visual Inspection: Capacitors, Traces, and Burn Marks
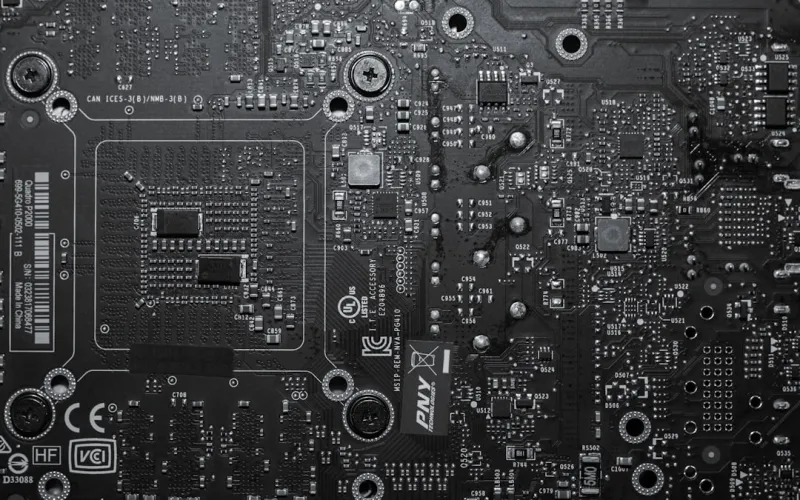
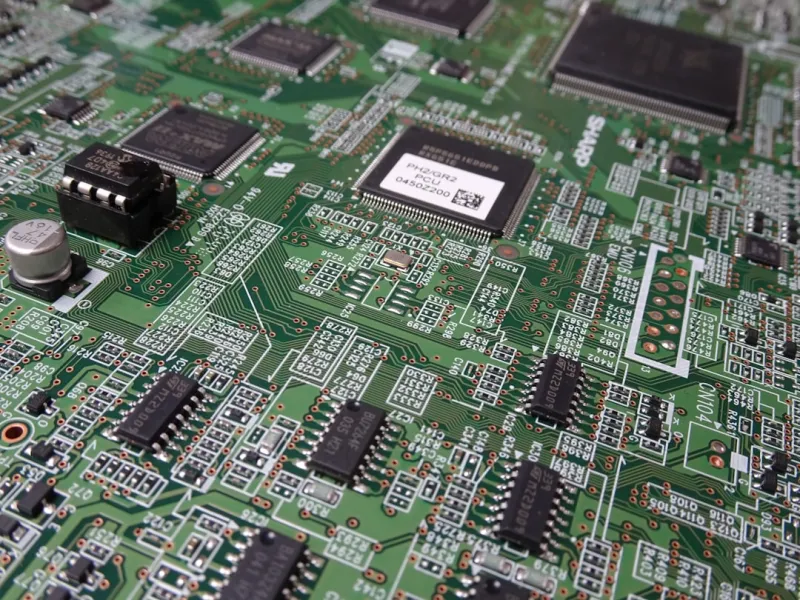
After you’ve exhausted firmware and power checks, it’s time to look at the board with your own eyes. Modern motherboards use solid‑state capacitors, but they can still bulge, leak, or burst under stress. Look for any capacitors with a domed top, a crusty residue, or a sudden “puff” shape; these are red flags that the board’s power smoothing is compromised. Also scan the PCB for burnt or discolored traces, especially around the VRM and the CPU socket. A fine‑pointed magnifying glass can reveal hairline cracks that are invisible to the naked eye. If you spot any physical damage, it’s often a sign that the board has been subjected to overvoltage, excessive heat, or a short circuit. While a few minor issues can be repaired with soldering skills, most manufacturers consider such damage a non‑warranty event, so weigh the repair cost against the value of a new board.
Firmware Updates and OS Integration
In 2026, motherboard firmware isn’t just about hardware compatibility; it’s also tightly integrated with the operating system’s power‑management and security features. Windows 12, for example, introduces a “Hardware Health Dashboard” that can surface BIOS‑level warnings directly in the OS. Running the latest firmware is essential to unlock these benefits and to address known bugs—especially those that affect memory training or PCIe enumeration. I recommend using the vendor’s Windows‑based flashing utility, but first create a System Restore point (or a full backup) in case the update goes awry. Pair this with the insights from my Mastering Windows Updates in 2026 article to ensure that your OS and firmware are synchronized. After flashing, perform a clean boot and monitor the system for any new beep codes or POST messages that could indicate lingering issues.
When to RMA and How to Future‑Proof Your Next Build
If you’ve walked through every diagnostic step and the board still refuses to cooperate, it’s time to consider an RMA. Before you ship it back, document everything: photos of the board, logs of BIOS settings, and a timeline of the troubleshooting process. Most manufacturers ask for this level of detail, and it speeds up the replacement. Looking ahead, choose a motherboard that offers robust VRM cooling, a generous number of M.2 slots, and a BIOS that supports both legacy and modern firmware standards. This foresight will pay dividends as you upgrade CPUs, add faster storage, or adopt new peripheral standards. By following the systematic approach outlined above, you’ll not only resolve the current crisis but also build a deeper understanding that will make future builds smoother and more resilient.