Why Motherboard Health Matters for Power‑Users
When you’ve spent countless hours fine‑tuning overclocked cores, squeezing every last megahertz out of your GPU, and optimizing storage pipelines, the motherboard becomes the unsung hero holding it all together. As a power‑user, I’ve learned that a single faulty trace or a misbehaving voltage regulator can undo weeks of meticulous configuration in seconds. In 2026, with platforms supporting PCIe 5.0, DDR5, and integrated AI accelerators, the complexity of board layouts has skyrocketed, making troubleshooting both an art and a science. This article walks you through the systematic approach I rely on, blending seasoned diagnostic habits with the latest tools. By the end, you’ll be able to identify subtle warning signs before they trigger a catastrophic failure, apply targeted fixes, and future‑proof your system against emerging hardware quirks. Let’s dive into the practical steps that keep your rig humming, whether you’re building a high‑frequency trading workstation or a VR‑ready gaming beast.
Recognizing the Early Warning Signs
The first step in any motherboard rescue mission is learning to read the symptoms like a seasoned mechanic reads engine knocks. Common cues include a silent POST, intermittent USB dropout, random reboots under load, or even a subtle “click‑click” from the power button that never fully engages. In my own builds, I’ve seen the dreaded “black screen with fans spinning” scenario that often masquerades as a graphics card issue, when in fact the VRM is throttling due to a bad power phase. Another red flag is an unexpected spike in system temperatures shortly after boot—this can hint at a failing thermal sensor or a shorted MOSFET. Pay attention to BIOS beep codes; they’re the motherboard’s Morse‑code SOS, each pattern pointing to a specific hardware fault. By cataloguing these early indicators, you can narrow down the failure domain and avoid needless component swaps that waste both time and money.
Visual Inspection and the Power of a Magnifying Glass
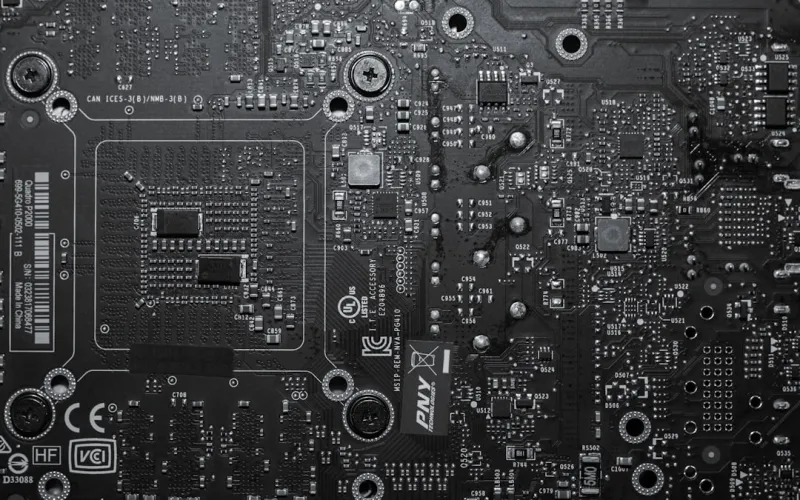
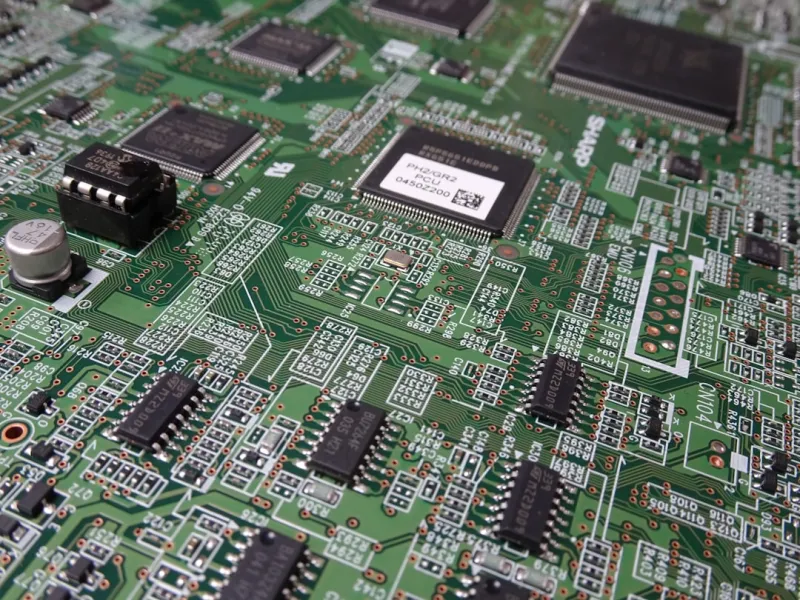
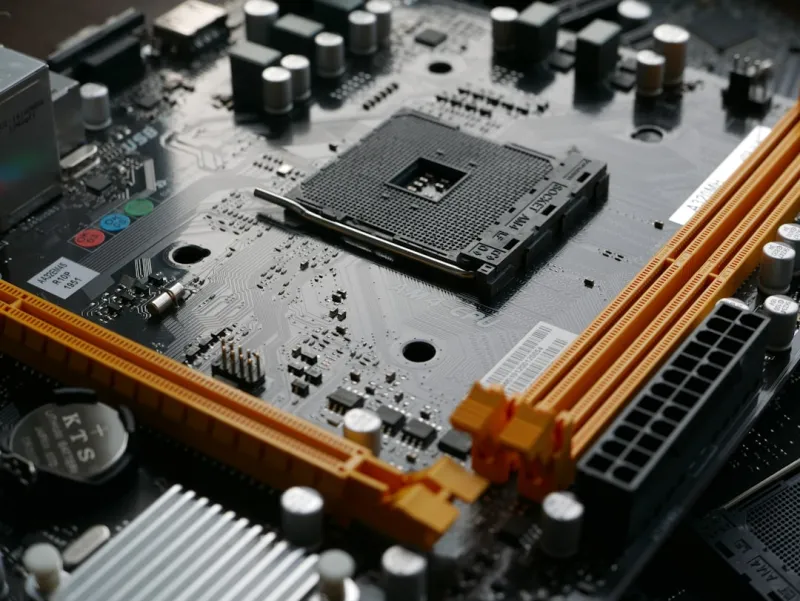
Before you power up any diagnostic software, grab a magnifying glass—or better yet, a 10× jeweler’s loupe—and perform a thorough visual audit of the board. Look for bulging or leaking electrolytic capacitors, discolored resistors, and any signs of solder bridges that could cause short circuits. In 2026, many high‑end motherboards use solid‑state capacitors, but cheaper models still rely on traditional electrolytics that age and fail. A quick check for scorch marks around the VRM area can save you a night of head‑scratching later. Don’t forget to examine the CPU socket for bent pins; a single misaligned pin can prevent the processor from establishing proper communication, leading to POST failures. While you’re at it, verify that all power connectors—24‑pin ATX, 8‑pin EPS, and any auxiliary GPU cables—are fully seated. This meticulous visual routine often uncovers issues that software diagnostics miss, and it’s a habit that even seasoned builders swear by. For a deeper dive into hardware health, see the guide Mastering 2026 PC Hardware for additional tips.
Decoding POST Beep Codes and Using Diagnostic Cards
If your system emits a series of beeps instead of booting, those tones are the motherboard’s first line of communication. Each BIOS vendor—American Megatrends (AMI), Award, Phoenix—has its own beep code dictionary, and understanding the pattern can point you directly to the offending component. For example, a single short beep often means “memory OK,” while a sequence of three long beeps may indicate a video card problem. I keep a reference sheet on my desk, and I recommend downloading the latest BIOS manual from the manufacturer’s site, as codes can change with firmware updates. When beep codes are ambiguous or the motherboard lacks a speaker, a POST diagnostic card (a small PCI‑express card with LED displays) can provide hexadecimal error codes that map to specific subsystems. Plug the card into a free PCIe slot, power the system, and read the code—cross‑reference it with the board’s documentation. This low‑cost tool has saved me from countless blind guesses, especially when troubleshooting motherboards that support advanced features like PCIe 5.0 lane bifurcation.
Power Delivery Checks: PSU, VRM, and Voltage Integrity
A stable power supply is the lifeblood of any motherboard, and even a high‑quality PSU can betray you if its rails droop under load. Start by confirming that your PSU delivers the advertised amperage on the +12 V rail, which powers the CPU VRM and graphics cards. Use a digital multimeter or, for more precision, a power‑analysis tool like a USB‑C power meter that logs voltage fluctuations over time. If you notice the voltage dipping below 0.95 V during stress tests, the VRM may be overheating or the motherboard’s power phases could be failing. In such cases, reseating the CPU cooler and ensuring adequate airflow across the VRM heatsinks is crucial. Some enthusiasts also apply a thin layer of thermal paste directly onto the VRM heat spreader to improve heat transfer—a technique I’ve employed on select builds. Once the power delivery chain is verified, proceed to BIOS tweaks that can reduce voltage stress, such as enabling “Loadline Calibration” or adjusting the “CPU Vcore” offset. For complementary power‑management strategies, check out Unlock the Full Potential of Windows 11.
BIOS/UEFI Firmware Updates and Safe Flashing Practices
Modern motherboards rely on firmware that not only initializes hardware but also provides the platform for advanced features like memory overclocking, PCIe lane allocation, and integrated AI accelerators. Keeping the BIOS/UEFI up to date can resolve obscure compatibility bugs, improve stability with newer CPUs, and unlock performance enhancements. However, a failed flash can brick the board, so I follow a disciplined approach: first, back up the existing BIOS image using the built‑in “Save BIOS to USB” utility; second, download the latest firmware from the official vendor page, verifying the checksum to avoid corrupted files; third, use the manufacturer’s “Q‑Flash” or “EZ Flash” utility, which runs in a minimal environment insulated from OS interference. If the board supports Dual‑BIOS, I always flash the secondary chip as a safety net. After the update, clear the CMOS to reset settings, then reapply any custom profiles gradually, testing stability after each tweak. This methodical process ensures that the motherboard firmware enhances, rather than jeopardizes, system reliability.
Memory Slot and DIMM Troubleshooting
Even if your RAM modules pass individual stress tests, the motherboard’s memory controller or slot layout can still cause intermittent crashes. Begin by consulting the motherboard manual to confirm the recommended DIMM configuration—for instance, populating slots A2 and B2 for dual‑channel operation on many modern boards. If you experience “memory not detected” errors, swap the modules to different slots to isolate a potentially faulty trace. I also recommend running a full MemTest86+ suite for at least eight passes, as this can reveal subtle timing issues that only appear under extended load. When dealing with high‑speed kits (e.g., DDR5‑7200), ensure that the BIOS XMP profile is correctly applied and that the voltage settings match the manufacturer’s specifications. For a deeper dive into RAM diagnostics, my earlier article How to Diagnose and Fix RAM Problems Like a Power‑User offers a step‑by‑step walkthrough that complements motherboard troubleshooting.
Long‑Term Maintenance and Future‑Proofing Your Board
Once you’ve stabilized the immediate issues, it’s time to think about longevity. Regularly clean dust from the VRM heatsinks and fan blades; a buildup of debris can raise temperatures by several degrees, accelerating component wear. Apply a light coat of non‑conductive thermal paste to the VRM if you notice heat spikes during sustained workloads. Additionally, schedule quarterly firmware checks and keep an eye on the manufacturer’s release notes for security patches—some recent BIOS updates address vulnerabilities in the System Management Bus (SMBus) that could be exploited in networked environments. When planning upgrades, choose a motherboard with a robust power delivery design, ample PCIe lanes, and BIOS support for next‑generation CPUs; this mitigates the need for a full board replacement when you upgrade the processor in a few years. By treating the motherboard as a living ecosystem rather than a static component, you’ll enjoy consistent performance, reduce downtime, and keep your power‑user rig ready for the next wave of hardware innovations.