
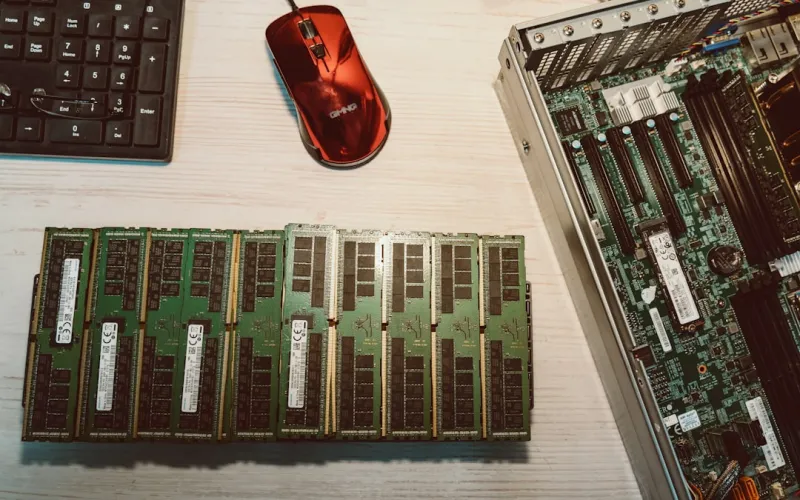
When you’re a power user, memory isn’t just a passive backdrop—it’s the pulse that drives every heavy‑weight application, from AI model training to multi‑tab browsing marathons. Yet, RAM problems have a sneaky way of surfacing at the worst possible moments: a sudden freeze during a critical render, a cryptic error after a Windows update, or that dreaded “out of memory” warning just as you’re about to close a big spreadsheet. In 2026, with software demanding ever‑larger memory footprints, the cost of ignoring RAM health skyrockets. This guide dives deep into the troubleshooting workflow I’ve refined over a decade, blending low‑level hardware checks with high‑level OS tuning, so you can identify the root cause before it derails your productivity.
Understanding RAM Symptoms
Before you reach for any tool, you need a clear mental map of the signs that point to memory trouble. Common symptoms include random reboots, blue‑screen error codes that reference “MEMORY_MANAGEMENT,” inexplicable application crashes, and sluggish system response even when CPU and disk usage appear normal. In some cases, you’ll notice a pattern—like a specific game crashing after a new patch or a virtual machine stalling after a large dataset is loaded. These clues often indicate that the issue isn’t just software; it’s a mismatch between what the OS expects and what the memory modules can deliver. Recognizing the pattern early saves you hours of blind trial‑and‑error, letting you target diagnostics more efficiently.
Pre‑flight Checks in the BIOS
The first real hardware checkpoint lives in your system’s firmware. Power users should enter the BIOS/UEFI during boot and verify that the memory frequency, voltage, and timings match the specifications on the DIMM stickers. Auto‑overclock settings can be tempting, but they often push modules beyond their stable envelope, especially after a fresh BIOS flash. While you’re there, enable the “Memory Remap” feature if it’s disabled; this ensures the OS can address the full capacity of modern high‑density sticks. Don’t forget to record the exact SPD values—many BIOS screens let you export them, which is handy when cross‑referencing with the manufacturer’s datasheet. A quick “save and exit” after confirming these settings can eliminate a whole class of intermittent crashes that masquerade as software bugs.
Windows Built‑in Diagnostic Tools
Windows 2026 ships with a revamped Memory Diagnostic utility that’s more user‑friendly than its 2010 predecessor. Launch it via mdsched.exe, choose a full restart, and let the tool run a comprehensive series of patterns across all memory addresses. The results are logged in the Event Viewer under “MemoryDiagnostics‑Results.” While this test is great for catching outright hardware failures, it may not expose subtle timing issues that only appear under sustained load. That’s why I always pair it with the Unlocking Windows Mastery guide, which outlines how to adjust the “Large System Cache” and “Pagefile” settings for memory‑intensive workloads. Tweaking these OS‑level parameters can sometimes mask minor hardware quirks, buying you time while you plan a more thorough test.
Deep Dive with MemTest86
For a stress test that pushes every memory cell to its limits, MemTest86 remains the gold standard. Download the latest 2026 image, create a bootable USB, and let it run for at least three full passes—ideally overnight. Unlike Windows’ diagnostic, MemTest86 operates outside the OS, eliminating interference from drivers or background services. Pay close attention to error logs; a single failing address can indicate a defective chip, but recurring errors at the same address across multiple passes often point to a BIOS timing mismatch or an inadequate voltage setting. The tool also provides a visual heat map of error frequency, which can help you pinpoint whether a particular DIMM slot is the culprit. If you spot errors, try reseating the stick or swapping slots to confirm the source before ordering a replacement.
Common Configuration Pitfalls
Even brand‑new builds can suffer from mismatched memory configurations. Mixing capacities (e.g., 8 GB + 16 GB) or speeds (3200 MHz + 3600 MHz) is technically supported but can trigger latency spikes that manifest as freezes. Dual‑channel operation is another frequent offender: installing two sticks of the same size but in non‑matching slots disables the channel, effectively halving bandwidth. I’ve seen users inadvertently populate all four DIMM slots with different brands, leading to subtle timing conflicts that only appear under heavy multitasking. For a quick sanity check, refer to the Why RAM Issues Still Haunt Power Users—and How to Crush Them article, which breaks down the exact compatibility matrix you should follow. When in doubt, stick to a matched kit from a single manufacturer and run a baseline benchmark before adding any additional modules.
Firmware, Drivers, and System Updates
Memory controllers live in the chipset, and chipset firmware evolves just as rapidly as CPU microcode. Missing a critical BIOS update can leave you stuck with sub‑optimal memory timings that newer operating systems expect. The Critical System Updates Every Power User Shouldn’t Miss post lists the 2026 firmware releases that specifically address DDR5 stability on popular motherboard families. After flashing the latest BIOS, also verify that you have the most recent chipset drivers from the motherboard vendor—these drivers translate the OS’s memory requests into hardware actions. In some cases, a simple driver rollback can solve regressions introduced by an aggressive update, so keep a copy of the previous version handy.
Software‑level Memory Management
Beyond hardware, the operating system’s memory manager plays a starring role in stability. In 2026, Windows employs a sophisticated “Memory Compression” algorithm that reduces paging but can backfire on systems with insufficient RAM headroom. Adjusting the “Virtual Memory” settings—specifically the size of the pagefile—can alleviate pressure on compressed memory. Additionally, ensure that background services like Windows Search and telemetry are not hogging precious RAM; disabling unnecessary startup items often frees 1–2 GB, enough to smooth out occasional spikes. For developers, the new Process Explorer memory view shows real‑time working set sizes, letting you spot rogue applications that leak memory. Pair this with the Diagnose and Fix RAM Issues Like a Power User guide for step‑by‑step remediation techniques.
RAM in AI‑heavy Workloads
AI and machine‑learning workloads have become mainstream power‑user territory, and they demand both capacity and bandwidth. Models that fit entirely in VRAM still spill over into system RAM, especially when using large batch sizes. If you notice training jobs stalling at the same iteration, it’s often a symptom of “out‑of‑bandwidth” errors where the CPU can’t feed the GPU fast enough. In such scenarios, consider enabling “NUMA” awareness in your AI framework, which optimally routes memory across CPU sockets. Upgrading to high‑speed DDR5‑6000 modules can shave milliseconds off each training epoch, but only if your motherboard’s memory controller officially supports those speeds. Remember, overclocked RAM without proper cooling can cause thermal throttling, so monitor module temperatures during prolonged AI runs.
Future‑Proofing Your Memory
Looking ahead, the next wave of DDR6 is on the horizon, but for most power users today, the sweet spot lies in maximizing DDR5 efficiency. Investing in a 32 GB (2 × 16 GB) kit with low CAS latency and adequate voltage headroom offers a balance of capacity and speed that will comfortably handle future software bloat. Pair this with a motherboard that offers at least four DIMM slots, giving you the flexibility to expand without compromising dual‑channel operation. Lastly, maintain a regular “memory health audit”—run MemTest86 quarterly, review Event Viewer logs, and keep firmware current. By treating RAM as a living component that requires periodic care, you’ll keep your rig resilient against the inevitable software demands of 2026 and beyond.




