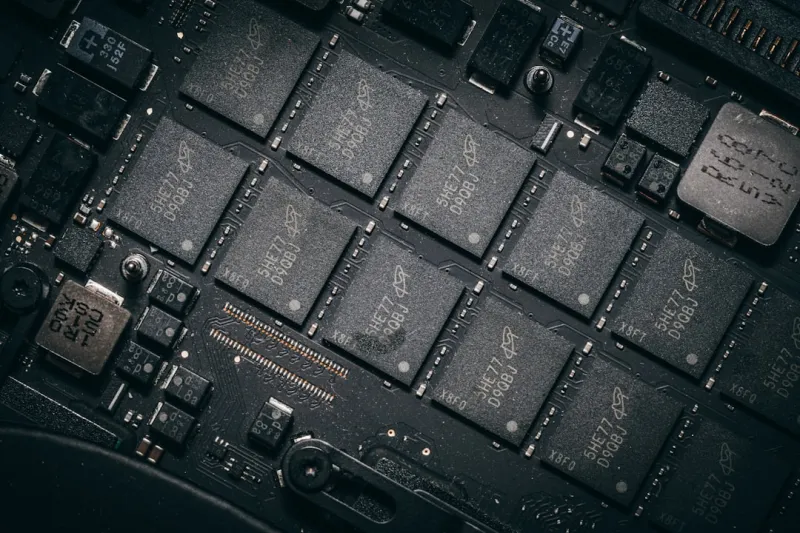
When your laptop stalls mid‑render or your desktop crashes during a heavy spreadsheet shuffle, the culprit is often the unsung hero of your machine: RAM. I’ve spent countless nights wrestling with memory bottlenecks, and the lesson is simple—if you treat RAM like a disposable part, you’ll pay the price in lost productivity. In 2026, the sheer variety of DDR5 kits, mixed‑capacity sticks, and XMP profiles can be overwhelming, but mastering memory troubleshooting is a power‑user rite of passage. This guide walks you through every step, from symptom spotting to hardware swaps, with a focus on practical, repeatable actions that keep your rig humming at peak speed.
Spotting the Symptoms Before They Snowball
The first sign that your memory is on the fritz usually shows up as random freezes, blue screens, or inexplicable application crashes. On Windows, you’ll see the dreaded “Memory Management” stop code; macOS will throw kernel panics that reference “memory.” Even if you’re not a seasoned diagnostician, noticing patterns—like crashes only when you open multiple browser tabs or when a virtual machine boots—helps you zero in on RAM as the root cause. I’ve learned to keep a simple log: timestamp, running app, and error message. Over a week, that log becomes a map, guiding you to the exact workload that triggers the fault. Remember, swapping a hard drive or updating a driver can mask a memory issue, so isolate the problem by disabling non‑essential background services before you start digging deeper.
Running the Right Diagnostic Tools
Software diagnostics are the low‑cost first line of defense. Windows 11 ships with its built‑in Memory Diagnostic, which you can launch from the Start menu; it reboots and runs a series of read/write tests that catch the most common errors. For a more thorough sweep, I favor MemTest86, a bootable utility that stresses each memory address for hours, exposing intermittent failures that the OS might miss. macOS users can tap the Apple Diagnostics mode (hold D at startup) and then use the Activity Monitor’s “Memory Pressure” graph to spot chronic swapping. If you prefer a GUI, the free program “RAMMap” from Microsoft visualizes allocation patterns—useful for spotting memory leaks that masquerade as hardware faults. Each tool yields logs; keep them handy, as they often contain the error codes you’ll need when you dive into BIOS settings or contact support.
Decoding Error Codes and What They Mean
When a diagnostic test flags an address, you’ll see hexadecimal codes like “0x0000001A” or “0x0000001E.” These aren’t random; they map to specific failure types such as “Parity Error” or “Read/Write Failure.” In my experience, a repeatable pattern on the same address usually points to a defective chip, while sporadic errors across multiple addresses often suggest timing or voltage mismatches. Cross‑reference the codes with the motherboard’s technical manual—most manufacturers publish a table linking error numbers to recommended BIOS tweaks. If you see “0x0000001E,” for example, it often means the memory is operating outside its rated speed; lowering the frequency or adjusting the voltage can instantly stabilize the system. The key is to treat these codes as clues, not final judgments; a single error doesn’t always mandate a hardware replacement.
Physical Inspection: The Hands‑On Approach
Once software tells you there’s a problem, the next step is to get under the hood. Power down, unplug, and ground yourself before you touch the modules—static discharge can turn a perfectly good stick into a dud. Remove each RAM stick and examine the gold contacts for oxidation or dust; a quick isopropyl wipe with a lint‑free cloth often restores conductivity. Reseat the modules firmly, ensuring the retention clips click into place. I’ve seen systems that “refused” to boot simply because a stick was slightly off‑center. If you have multiple sticks, test each one individually by booting into the OS and running a quick MemTest86 pass. This isolates the faulty module without the need for a full diagnostic run each time. Don’t overlook the DIMM slots themselves—bent pins or debris can cause intermittent failures that mimic bad RAM.
BIOS/UEFI Tweaks: Timing, Voltage, and XMP
The BIOS is where memory truly comes alive, and a misconfigured profile can wreak havoc. Modern UEFI firmware offers an “XMP” (Extreme Memory Profile) option that automatically applies the manufacturer’s rated speed, timings, and voltage. However, many power users—myself included—prefer manual tuning. Start by setting the frequency one step below the advertised rating, then gradually increase while monitoring stability with MemTest86. Tightening timings (e.g., moving from CL22 to CL19) can boost performance but often requires a slight voltage bump—typically 1.35 V for DDR5. Keep an eye on the motherboard’s temperature sensors; excessive voltage can overheat the DIMM slots. If you encounter “Memory Management” blues after a BIOS update, revert to the previous version or clear the CMOS to reset any rogue overclock settings.
Ensuring Compatibility: Mix‑and‑Match with Caution
Today’s market tempts you with multi‑brand kits and odd‑sized modules, but compatibility is a tightrope. Mixing capacities (e.g., 8 GB + 16 GB) forces the system into flex mode, which can degrade dual‑channel performance. Similarly, pairing different manufacturers can introduce latency mismatches. Before you buy, consult your motherboard’s Qualified Vendor List (QVL); it details tested modules and recommended configurations. If you’re building a future‑proof workstation, aim for a uniform kit that supports the highest supported speed and the full channel architecture (dual, triple, or quad). When you’re unsure, the Power‑User’s Essential 2026 Update Playbook provides a checklist for verifying firmware, driver, and hardware harmony before you commit to a RAM upgrade.
When Firmware Updates Can Save the Day
Sometimes the issue isn’t the memory at all—it’s the firmware that miscommunicates with it. Motherboard vendors frequently release BIOS patches that address subtle memory controller bugs, especially after new DDR5 standards roll out. I recall a case where a BIOS 1.2.5 update eliminated a recurring “0x0000001A” error that no amount of reseating could fix. Before you discard a stick, check the manufacturer’s support page for any recent updates. Pair this with the step‑by‑step RAM troubleshooting guide, which walks you through flashing the BIOS safely, backing up the current firmware, and verifying post‑update stability. A clean, updated firmware environment often turns a borderline module into a reliable workhorse.
Choosing the Right Replacement and Future‑Proofing
If diagnostics confirm a faulty module, it’s time to replace it with something that not only solves today’s woes but also prepares you for tomorrow’s workloads. Look for kits with higher density (e.g., 32 GB sticks) that still support the latest speed grades—this avoids the need for a full platform upgrade when you scale up. Consider heat spreaders with thermal pads; they keep the modules cool under sustained loads like AI model training, which is increasingly common in 2026. When budgeting, weigh the cost of a full dual‑channel kit versus a single high‑capacity stick; the performance delta is often negligible for most power‑user tasks, but dual‑channel can still give you a measurable boost in memory‑intensive gaming or video editing. Finally, keep an eye on emerging standards—DDR5e is on the horizon, and buying a motherboard with a forward‑compatible memory slot can save you a costly swap down the line.
Wrapping Up: A Power‑User’s Action Plan
Memory troubleshooting is a blend of observation, software testing, and hands‑on hardware work. Start by logging symptoms, run a thorough diagnostic suite, decode any error codes, then move to the physical level—clean, reseat, and test each stick. Dive into BIOS settings to fine‑tune timings and voltage, verify compatibility, and don’t forget to update firmware. When you’ve exhausted these steps, replace the faulty module with a future‑ready kit, and you’ll be back to smooth, lag‑free computing. For a deeper dive, check out my detailed walkthrough in How to Diagnose and Fix RAM Problems Like a Power‑User. Armed with these tactics, you’ll keep your machine performing at the top of its game—no more mysterious crashes, no more wasted time.