
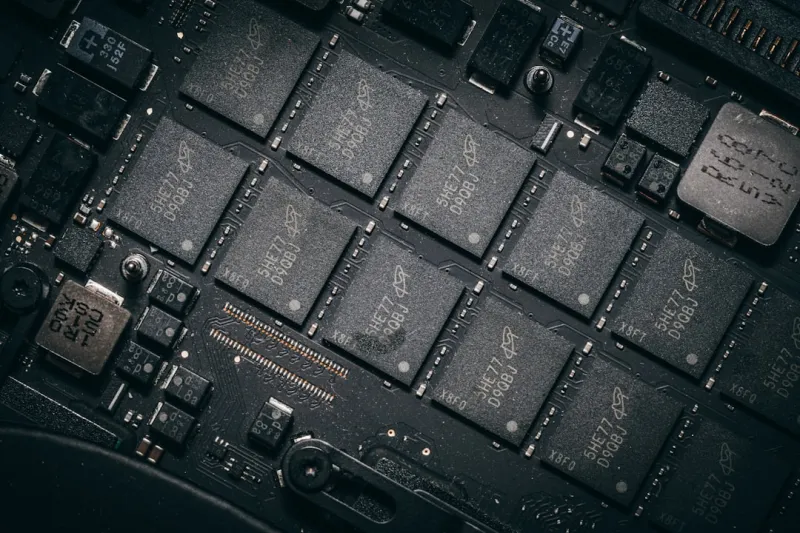
When my workstation hiccups in the middle of a demanding AI rendering session, my first suspicion isn’t a rogue driver or a slow SSD—it’s the RAM. In 2026, memory technology has exploded with DDR5‑6000 and even early DDR6 prototypes, but the fundamentals of troubleshooting haven’t changed. As a power‑user who spends more time tweaking BIOS settings than scrolling social feeds, I’ve learned that the tiniest misstep in a memory module can masquerade as a system‑wide slowdown, a cryptic blue screen, or an inexplicable application crash. This article walks you through a systematic, hands‑on approach to diagnosing and fixing RAM issues, drawing from years of field experience and a healthy dose of trial‑and‑error. Whether you’re building a new rig, upgrading an aging workstation, or simply trying to keep your existing system humming, the strategies below will help you isolate the problem, apply the right fix, and get back to squeezing every ounce of performance out of your machine.
Spotting the Classic Symptoms of Faulty RAM
Memory failures don’t always announce themselves with dramatic error codes; more often they whisper through subtle symptoms that can easily be misattributed to other components. Common signs include random application freezes, especially under heavy multitasking or during large dataset loads, and the dreaded “memory management” blue screen that Windows throws when it can’t reliably allocate a page. In macOS, you might see kernel panics that reference “memory pressure” even when the Activity Monitor shows ample free RAM. Another red flag is the seemingly endless reboot loop after a recent hardware change—if you’ve swapped out a GPU or added a new SSD and the system now refuses to POST, bad RAM could be the culprit. Finally, look out for corrupted files or inexplicable data loss after long rendering jobs; persistent bit‑flips often trace back to failing memory cells. Recognizing these patterns early can save you hours of unnecessary driver reinstallations and software troubleshooting.
Running the Right Diagnostic Tools
The first step in any memory investigation is to let the system do the heavy lifting with built‑in diagnostics. In Windows 11, the Windows Memory Diagnostic tool remains a quick, no‑install option—just type “mdsched” into the Start menu, choose a reboot, and let the test run through multiple passes. For deeper analysis, I swear by MemTest86, which boots from a USB stick and pushes each memory address through a battery of stress patterns, exposing subtle timing errors that the OS might miss. When using MemTest86, set it to run at least four full passes on a clean boot; on a high‑performance DDR5 kit, this can take several hours but is worth the patience. Linux fans can leverage the “stress‑apptest” utility, while macOS power‑users can enable the hardware diagnostic by holding D at startup. Remember to log the results; a single error flag is enough to confirm a faulty module, but multiple errors across different addresses indicate a more systemic issue that may require a full replacement.
Physical Inspection: Reseat, Clean, and Verify Connections
Once software diagnostics point toward a memory problem, the next logical step is to get hands‑on. Power down the system, unplug all cables, and ground yourself to avoid static discharge—your motherboard and RAM are sensitive enough to be damaged by a mere spark. Carefully release the retention clips on each DIMM slot, lift the modules straight out, and inspect the gold contacts for any oxidation or debris. A soft brush or a can of compressed air can clear out dust that might be causing intermittent contact. When reseating, align the notch on the module with the key in the slot and press firmly until the clips click back into place. If you have multiple sticks, try installing one at a time to isolate a possibly defective module. Also verify that the slots themselves are not damaged; bent pins or cracked solder joints can masquerade as RAM failures and require motherboard repair or replacement.
BIOS/UEFI Tweaks: Timing, Voltage, and Frequency Adjustments
Modern BIOS interfaces give power‑users granular control over memory parameters, and misconfigured settings are a common source of instability. Start by loading the default memory profile—often labeled “XMP” (Extreme Memory Profile) for Intel platforms or “DOCP” for AMD—so the system applies the manufacturer‑approved timings and voltage. If you’ve manually overclocked the RAM, dial back to the default frequencies and see if stability returns; even a small deviation from the rated speed can cause error‑correcting code (ECC) to trigger in non‑ECC modules. Pay attention to the DRAM voltage; DDR5 modules typically run at 1.35 V, but some high‑performance kits require a slight boost to 1.40 V. Use the BIOS voltage offset feature rather than setting an absolute value to maintain flexibility across different modules. Finally, enable “Memory Remap” if your platform supports it—this ensures the full addressable memory space is correctly mapped, preventing the system from seeing phantom “missing” RAM.
Compatibility Checks: Mixing Modules, Dual‑Channel Configurations, and Future‑Proof Planning
Even if each individual stick passes stress tests, incompatibility between modules can create subtle glitches. Mixing capacities (e.g., a 16 GB stick with an 8 GB stick) or differing speed grades can force the memory controller to fall back to the lowest common denominator, which sometimes leads to timing mismatches. Always aim for matched kits that share the same manufacturer, part number, and rated speed to guarantee stable dual‑channel operation. When building a new system, consult the motherboard’s qualified vendor list (QVL) to confirm that the specific DDR5 model is officially supported; while many kits work fine off‑list, an unsupported module may cause occasional boot failures or reduced performance. For users eyeing future upgrades, consider leaving an empty slot for a second kit, and budget for at least 32 GB of RAM if you regularly run AI workloads or virtual machines—this headroom will keep you from hitting the memory ceiling before the next hardware refresh.
Deep Dive with a Power‑User’s Guide to RAM Troubleshooting
For a step‑by‑step walkthrough that includes detailed screenshots, diagnostic log interpretation, and a checklist for every stage of the process, check out Diagnosing and Fixing RAM Issues: A Power‑User’s Hands‑On Guide. That guide expands on the tools mentioned here, offering command‑line snippets for Windows, Linux, and macOS, plus a troubleshooting matrix that helps you quickly decide whether a module needs reseating, a BIOS tweak, or a full replacement. I’ve referenced it throughout my own debugging sessions, and it’s become my go‑to reference when a system refuses to stay up under load. The guide also covers how to use third‑party utilities like HWiNFO to monitor real‑time memory errors, and it explains the nuances of ECC versus non‑ECC memory in consumer‑grade platforms—a topic that’s increasingly relevant as more creators adopt workstation‑class hardware.
Future‑Proofing Your Memory Strategy for 2026 and Beyond
Looking ahead, the memory landscape is shifting toward higher densities and even tighter integration with the CPU. DDR5 is now standard for most new builds, but early DDR6 modules promise bandwidths exceeding 10 GB/s per channel, which will be a game‑changer for AI inference and real‑time video processing. When planning a future‑proof upgrade, think about both capacity and bandwidth: a 64 GB DDR5‑5600 kit will handle most workloads today, but a 128 GB DDR6‑7200 configuration could be the sweet spot for heavy‑duty tasks in the next few years. To navigate that transition, I recommend reading The Ultimate PC Upgrade Playbook for Power Users, which outlines how to evaluate when to stick with a current generation versus waiting for the next wave of memory tech. It also includes a cost‑benefit analysis that helps you decide whether the performance gains justify the investment, especially when factoring in power consumption and cooling requirements for high‑speed modules.
Wrapping Up: A Practical Checklist for Immediate Memory Health
Before you close this page and dive back into your projects, here’s a concise, actionable checklist to keep your RAM humming: 1) Run a full MemTest86 pass after any hardware change; 2) Verify BIOS settings—enable XMP/DOCP, check voltage, and ensure Memory Remap is active; 3) Reseat each DIMM and clean contacts; 4) Test modules individually in a known‑good slot to isolate faults; 5) Confirm that all sticks are from the same kit or, at minimum, share speed and timings; 6) Monitor for error logs in Windows Event Viewer or macOS Console; 7) Plan upgrades based on capacity needs and emerging DDR standards; 8) Keep a spare module on hand for quick swaps during troubleshooting. By following these steps, you’ll cut down on downtime, protect your data, and maintain the high‑performance edge that power‑users like us rely on daily. If you’ve found any of these tips useful, feel free to share your own memory‑troubleshooting stories in the comments—let’s keep the community’s knowledge base growing.




