
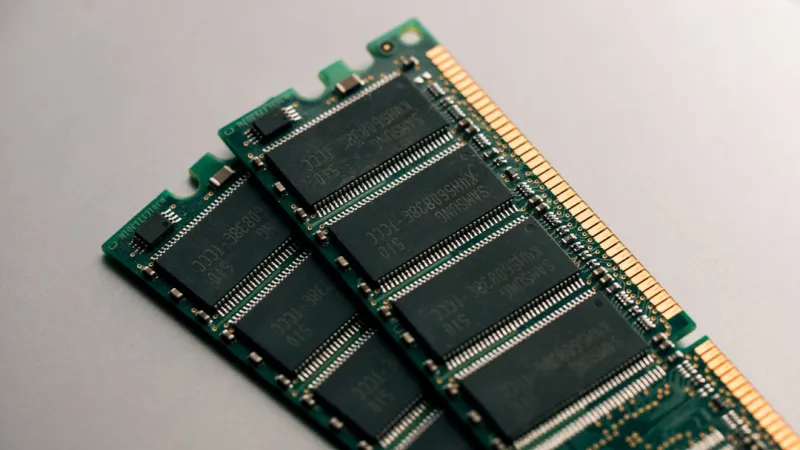
When your machine suddenly stalls, throws cryptic “memory” errors, or refuses to boot past the splash screen, it’s often RAM that’s waving the white flag. As a long‑time power‑user, I’ve learned that memory issues are rarely “just a glitch” – they’re a symptom of deeper system harmony problems. In 2026, with DDR5 modules hitting 5600 MT/s and beyond, the sheer speed and density introduce new failure modes that the average user never sees. This guide walks you through the diagnostic mindset I’ve honed over a decade, from the most obvious visual cues to the nuanced BIOS tweaks that can rescue a flaky kit. By the end, you’ll be equipped to pinpoint whether a bad stick, timing conflict, or even a motherboard firmware bug is the culprit, and you’ll know exactly how to act without wasting time on blind part replacements.
Memory Basics: What Every Power User Should Remember
Even the most advanced DDR5 DIMMs adhere to the same fundamental principles that have governed RAM since the early days of SDRAM: timing, voltage, and capacity must all align with what the motherboard and CPU expect. In 2026, many platforms now support both 1.2 V and 1.35 V profiles, but a mismatch can cause subtle instability that only surfaces under heavy multitasking or AI workloads. Equally important are the CL (CAS latency) and tRCD values, which dictate how quickly a module can respond to read/write commands. While manufacturers tout lower latencies, the real-world impact is often dwarfed by proper cooling and stable power delivery. Remember, memory is only as reliable as its environment – a poorly seated stick, an under‑volted regulator, or a firmware that doesn’t recognize XMP profiles can all masquerade as “random crashes.” Understanding these basics sets the stage for a systematic troubleshooting approach rather than a trial‑and‑error hunt.
Red Flags: Symptoms That Point Directly to RAM
Before you open your case, take note of the patterns your system exhibits. Frequent BSODs with error codes like 0x0000001A (MEMORY_MANAGEMENT) or spontaneous reboots during high‑intensity gaming are classic RAM warning signs. In 2026, AI‑enhanced applications stress memory bandwidth more than ever, so you might notice stutters only when using large language models or generative video tools. Another tell‑tale symptom is the “no POST” scenario where the system powers on, fans spin, but the screen stays black and you hear a single beep – many BIOS manufacturers use that beep to indicate a memory detection failure. If you see corrupted files after seemingly successful transfers, especially on SSDs, suspect a timing issue that’s corrupting the data path. Documenting these behaviors helps narrow down whether the problem is transient (perhaps a thermal issue) or persistent, which is crucial for the next diagnostic steps.
Quick Visual and Physical Checks
The fastest way to eliminate the obvious is a thorough visual inspection. Power down, unplug, and press the power button for 10 seconds to discharge residual charge. Then, remove each DIMM and reseat it firmly; the clips should click into place with a solid, even pressure. Look for bent pins, dust, or residue – even a speck of conductive debris can cause intermittent failures. While you have the sticks out, test each module individually in the primary slot (usually slot A1) and observe whether the system boots. If it does, rotate the order and repeat; sometimes a specific channel or rank combination triggers issues. Don’t forget to check the motherboard’s Q‑slot for debris; a single stray screw can short a memory trace. These steps often resolve 60‑70 % of “RAM problems” without needing software diagnostics.
BIOS Settings: Timing, Voltage, and XMP Profiles
Modern UEFI firmware offers a wealth of memory controls that, when misconfigured, can wreak havoc. Start by loading the BIOS defaults – this ensures you’re on a known stable baseline. Next, enable the XMP (Extreme Memory Profile) profile that matches your kit’s advertised specs; this automatically sets the correct frequency, timings, and voltage. However, if you’re pushing the envelope with overclocks, manually adjust the primary timings (CL, tRCD, tRP, tRAS) one at a time, testing stability after each change with a tool like MemTest86. Keep an eye on the DRAM voltage; while many DDR5 modules run safely at 1.2 V, some high‑performance kits require 1.35 V for full speed. If you notice instability, back off the frequency by one step or increase the voltage marginally – but stay within the manufacturer’s recommended limits to avoid overheating. Lastly, ensure your BIOS version supports the latest memory standards; a firmware update can resolve compatibility quirks, especially with newer 5600 MT/s modules.
Software Diagnostics: Stress Tests and Real‑World Benchmarks
Once the hardware basics are covered, it’s time to let software do the heavy lifting. MemTest86 remains the gold standard for raw memory validation – run at least four passes in a bootable environment to catch subtle errors. For a more workload‑focused test, use Prime95’s “Blend” test with a memory‑intensive configuration; this simulates real‑world stress while monitoring temperatures. In 2026, tools like AIDA64’s “Stability Test” also integrate GPU and CPU stress, revealing cross‑component interactions that can trigger memory faults. Keep an eye on the system’s temperature sensors; DDR5’s higher speeds generate more heat, and insufficient cooling can cause throttling that appears as random crashes. Record any error logs, especially recurring addresses, and cross‑reference them with your RAM’s address map; persistent errors on the same address often point to a defective chip rather than a systemic issue.
Compatibility Checks: Motherboard, CPU, and Firmware Alignment
Even if your RAM passes all tests in isolation, it may still clash with the rest of the system. Verify that your motherboard officially supports the specific RAM speed and capacity you’ve installed – consult the QVL (Qualified Vendor List) in the manual or on the manufacturer’s website. For example, many B660 boards in 2026 list support up to 5200 MT/s, but a 5600 MT/s kit will down‑clock or require a BIOS tweak. The CPU’s memory controller also has limits; Intel’s 13th‑gen processors typically handle up to 5600 MT/s, while AMD’s Ryzen 8000 series may cap at 5400 MT/s without manual tuning. If you suspect a mismatch, read through Motherboard Mastery: What Power Users Need to Know in 2026 for detailed compatibility matrices and firmware update strategies that can bridge the gap.
Upgrade vs. Replace: When to Keep, When to Toss
After exhaustive testing, you may conclude that a stick is truly defective. At this point, decide whether to replace a single module or upgrade the entire kit. If you’re running a dual‑channel configuration, swapping out only the bad DIMM can preserve the performance balance, but mismatched timings between old and new modules can reintroduce instability. In many cases, a clean upgrade to a matched set – especially one with a higher rated frequency and tighter timings – provides both reliability and a performance bump for AI‑driven workloads. Review our Upgrade Strategies for Power Users: Building a Future‑Proof AI‑Ready PC guide for budgeting tips, where to find reputable vendors, and how to verify the authenticity of high‑speed DDR5 kits before purchase.
Future‑Proofing Your Memory Setup and Final Checklist
Looking ahead, the next wave of DDR5+ and possibly DDR6 will push frequencies beyond 6400 MT/s, but the fundamentals won’t change: clean power, proper cooling, and firmware support remain essential. Before you close the case, run through this quick checklist: 1) All DIMMs seated with clips locked; 2) BIOS updated to the latest version; 3) XMP profile enabled or manual timings verified; 4) Voltage set within safe limits; 5) MemTest86 completed with no errors; 6) System temperature under load below 85 °C; 7) No BIOS beep codes indicating memory faults. By making this routine part of your maintenance schedule, you’ll catch emerging issues before they snowball into data loss or downtime. For a broader view of what power users need to monitor this year, see the Power‑User Playbook: Critical 2026 Updates You Can’t Ignore. With these practices, RAM will stay the silent workhorse you rely on, even as workloads get more demanding.




