When a brand‑new video card starts flickering, throttling, or refusing to display anything beyond a black screen, the frustration is immediate—and the blame game can get messy. I’ve been pulling GPUs out of dusty boxes, swapping them into cramped mini‑ITX rigs, and chasing down cryptic error codes for over a decade, and I’ve learned that the root of most video‑card woes isn’t magic; it’s a combination of software missteps, power delivery quirks, and the ever‑shifting landscape of driver ecosystems. In 2026, the hardware itself is smarter—thanks to AI‑driven monitoring and self‑optimizing firmware—but that intelligence only shines when we know how to ask the right questions. In this post I’ll walk you through a systematic, battle‑tested approach that blends old‑school troubleshooting instincts with the new tools we have at our fingertips, so you can get that GPU humming again without having to call in a technician.
Step One: Capture the Symptoms and Isolate Variables
Before you open the case or reinstall drivers, write down exactly what you’re seeing. Is the display blank, or do you get colorful artifacts? Does the issue appear only under load, like during a game benchmark, or right at boot? Does the system emit a series of beeps or a Windows “Display driver stopped responding” message? These details act as a diagnostic fingerprint. In my experience, the most common false lead is assuming a “crash” is purely a driver issue, when in reality a marginal PSU or a loose PCIe latch can mimic the same symptoms. Use Windows’ built‑in Event Viewer to pull the exact error IDs and timestamps; this will give you a concrete trail to follow. A quick sanity check—swap the card into another known‑good system or test a different GPU in the same slot—to see if the problem follows the card or stays with the chassis.
Step Two: Tame the Driver Jungle in 2026
Driver management has become a high‑stakes game, especially with AI‑enhanced graphics pipelines now standard across most modern GPUs. The first rule is to purge any legacy drivers before installing the latest release from the manufacturer’s site. Use DDU (Display Driver Uninstaller) in Safe Mode to ensure no residual files linger. Once the fresh driver is installed, enable the “Game Ready” or “Studio” profile that matches your primary workload. If you’re using a custom BIOS or a factory‑overclocked card, check the release notes for any known incompatibilities; manufacturers often issue hotfixes that address specific performance regressions. For those who love to stay on the bleeding edge, remember that the newest driver can sometimes introduce new bugs—don’t be surprised if a rollback solves an issue that appeared after a recent update. When in doubt, consult the community forums for the exact GPU model; the collective experience is often the quickest path to a solution.
Step Three: Power Delivery and BIOS Tweaks
Even the most advanced GPUs can be throttled or forced into a crash loop if they aren’t receiving clean, adequate power. In 2026, many motherboards ship with a “Smart Power” BIOS that dynamically adjusts voltage limits based on workload. However, these algorithms can be over‑aggressive, especially when paired with a high‑efficiency 80+ Platinum PSU that operates near its limit. Open your BIOS and look for options like “PCIe Power Limit,” “VRM Load Line Calibration,” or “Dynamic Voltage Frequency Scaling.” Setting a modest manual power ceiling—often 130‑150 W for most mainstream cards—can eliminate sudden power drops that cause screen flicker. Also, double‑check that all power connectors are fully seated; a loose 8‑pin connector can cause intermittent blackouts that masquerade as driver failures. If you suspect the PSU, try a known‑good unit or run a stress test with a power‑meter to confirm stable delivery.
Step Four: Thermal Management and AI‑Assisted Monitoring
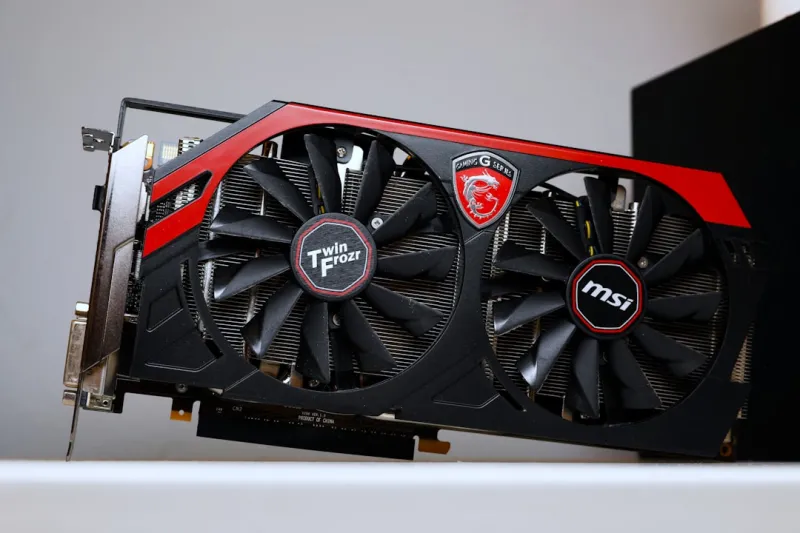
Overheating remains a leading cause of GPU instability, but 2026’s AI‑driven monitoring tools have made it easier to pinpoint thermal spikes before they trigger a shutdown. Software like MSI Afterburner now incorporates predictive temperature modeling that warns you when the card is approaching a thermal ceiling based on current fan curves and ambient conditions. Set your fan curve to be more aggressive once the GPU hits 70 °C, and consider a custom fan profile that ramps up sharply at 65 °C to keep temperatures in the low‑70s under load. Dust buildup is the silent killer—use a can of compressed air to clear the heatsink and ensure that airflow within the case is unobstructed. If you’re using a liquid‑cooled GPU, verify that the pump is functioning and that the coolant isn’t low; a subtle loss of flow can cause the card to “thermal throttle” in the middle of a game, leading to stuttering or crashes.
Step Five: When the GPU Won’t Initialize
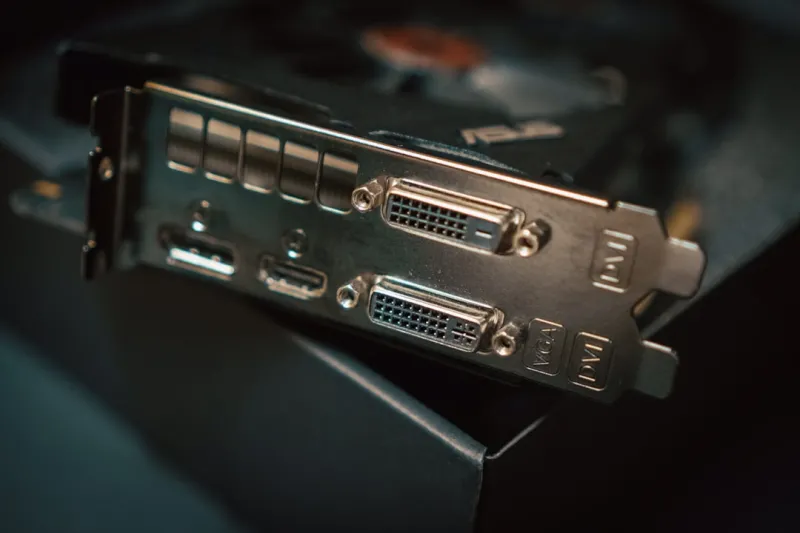
If your system boots to BIOS but never hands over control to the operating system, you’re likely looking at an initialization issue. First, verify that the monitor is correctly connected to the GPU’s primary output, not the motherboard’s integrated graphics port. Next, reset the GPU’s BIOS by powering down, unplugging the system, and holding the power button for 30 seconds to discharge any residual charge. Some cards have a dedicated BIOS reset jumper—consult the manual if you’re unsure. After resetting, clear the CMOS on the motherboard to wipe any lingering PCIe configuration conflicts. If the card still fails to post, test it in a different PCIe slot; a faulty slot can prevent proper enumeration. Finally, check for any BIOS updates from the motherboard manufacturer that address “PCIe Gen 5 compatibility”—a common issue with newer cards that expect the latest interface specifications.
Step Six: Diagnosing Artifacting and Visual Glitches
Artifacting—those random colored squares, lines, or “snow” on the screen—can be a sign of either hardware degradation or a misconfigured overclock. Start by restoring the GPU to its reference clock speeds using your overclocking suite or the manufacturer’s control panel. If the artifacts disappear, the card’s silicon may simply be unable to sustain the higher frequencies due to age or insufficient cooling. If they persist, run a memory stress test such as MemTestG80 to isolate faulty VRAM modules. In some cases, a faulty power delivery circuit on the card itself can cause voltage fluctuations that manifest as visual glitches. For those with a warranty still in effect, document the artifacting with a short video clip and contact the vendor—most manufacturers require visual proof before they’ll approve an RMA.
Step Seven: The Role of Firmware and Smart Hardware
Modern GPUs are no longer static silicon; they ship with updatable firmware that can fix bugs, improve performance, and even add new features like ray‑tracing optimizations. In 2026, firmware updates are often delivered through the same utility that handles driver installs, but they can also be found on the vendor’s support portal. Before flashing any firmware, back up your current version—some tools allow you to export the existing firmware image. When you do apply a firmware update, be sure to run a full system power cycle; a simple reboot can leave the card in a partially flashed state, leading to erratic behavior. For cards that support “Smart Hardware” features, enable the self‑optimizing mode in the control panel; this lets the GPU dynamically adjust clock speeds and power limits based on real‑time workload analysis, reducing the chance of manual misconfiguration.
Step Eight: When All Else Fails—RMA, Warranty, and Future‑Proofing
If you’ve exhausted driver rolls, power checks, thermal tweaks, and firmware updates, it may be time to consider a return or RMA. Most manufacturers offer a 2‑year limited warranty, but many extend coverage for “premium” models. Keep all receipts, serial numbers, and a log of the troubleshooting steps you’ve taken—this speeds up the approval process. When you receive a replacement, treat it as a fresh start: install the latest drivers, run a baseline benchmark, and document performance. Looking ahead, the best way to avoid future GPU headaches is to build a “troubleshooting toolkit” that includes a reliable PSU, a set of high‑quality thermal paste, and a portable USB‑C power meter. And if you’re planning a bigger upgrade, check out Upgrade Your PC in 2026 for a holistic approach that pairs AI‑driven performance insights with robust hardware choices. By staying proactive, you’ll spend less time fighting crashes and more time enjoying the visual fidelity that modern GPUs promise.