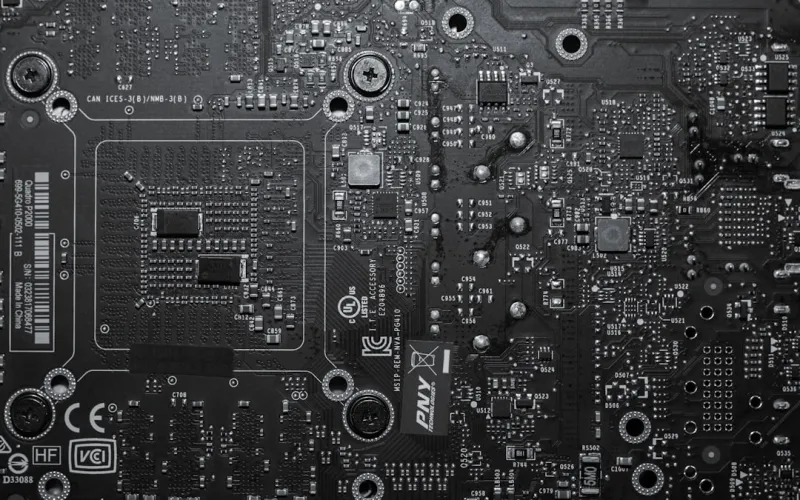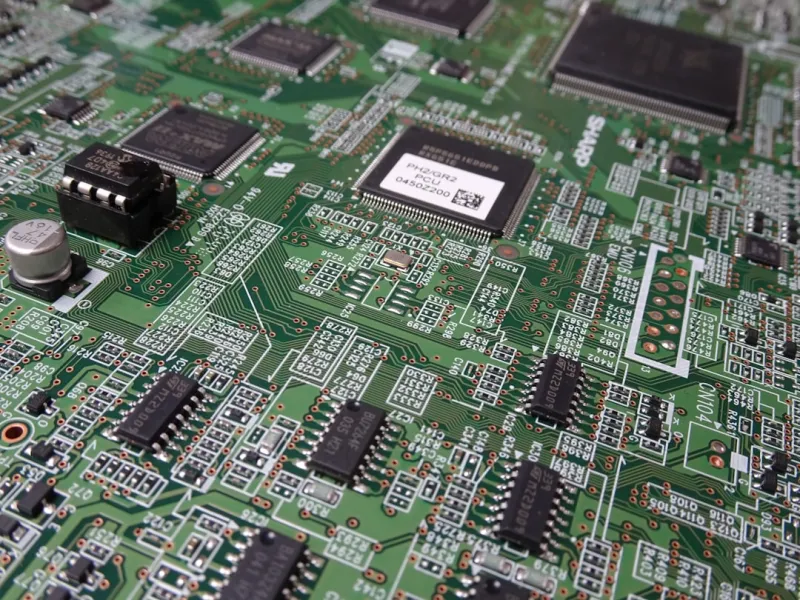
When a motherboard decides to throw a tantrum, it feels like the entire system has gone on strike. As a longtime power‑user, I’ve learned that the first step isn’t to panic but to methodically isolate the symptom. Is the system refusing to POST, emitting cryptic beep codes, or simply stalling during heavy workloads? In 2026, firmware updates have become more aggressive, and a corrupted BIOS can masquerade as a hardware failure. Start by clearing the CMOS—either with the jumper or by briefly removing the battery—then re‑flash the latest firmware from the manufacturer’s site. While this sounds like a textbook move, the nuance lies in verifying the exact BIOS version your CPU and RAM expect. Pair that with a quick visual inspection of the power delivery circuitry: look for swollen capacitors, scorch marks, or loose power connectors. A disciplined approach here saves hours of guesswork and often uncovers the root cause before you even touch a screwdriver.
Power‑Delivery Health Check
Motherboards are essentially sophisticated power distribution hubs, and any hiccup in voltage regulation can cascade into erratic behavior across the whole rig. Using a digital multimeter, I always measure the 12 V, 5 V, and 3.3 V rails at the ATX connector and directly at the VRM pins. In 2026, many high‑end boards feature built‑in power diagnostics accessible via the BIOS or a companion app; enable those logs and watch for voltage droops under load. If you notice the 12 V rail dipping below 11.8 V during a CPU stress test, it’s a red flag that either the PSU is under‑performing or the motherboard’s power stage is aging. Swapping in a known‑good PSU can quickly confirm the culprit. Remember, a healthy power delivery path not only stabilizes performance but also extends the lifespan of your CPU, GPU, and RAM.
BIOS Configuration for Modern CPUs
Modern CPUs in 2026 demand precise BIOS settings—particularly around core voltage and frequency scaling. I’ve spent countless nights tweaking the “Precision Boost Overdrive” and “Load‑Line Calibration” knobs to squeeze extra performance without triggering thermal throttling. Before you dive into aggressive overclocking, ensure that the “Secure Boot” and “UEFI/Legacy” settings match your operating system’s expectations; mismatches here can prevent the system from recognizing boot devices, masquerading as a motherboard fault. Also, verify that the memory profile (XMP or EXPO) aligns with the RAM’s rated speed and timings; a mis‑set profile can cause the system to crash during POST, leading you to suspect the motherboard when it’s actually a timing issue.
Diagnosing Faulty Expansion Slots
Expansion cards—whether it’s a high‑end GPU, a PCIe NVMe SSD, or a dedicated sound card—can be the silent saboteurs of a seemingly healthy motherboard. I always start by reseating each card, ensuring the metal contacts are clean and the retention clips are fully engaged. If a GPU misbehaves, the When Your GPU Misbehaves: A Power‑User’s Troubleshooting Playbook offers a deeper dive, but the basic principle remains the same: test the card in another compatible slot or even another system to rule out the board. For NVMe drives, check the BIOS for the correct PCIe lane assignment—some motherboards default to SATA mode, which can cripple performance. Finally, don’t overlook the importance of proper airflow around the slots; heat buildup can degrade signal integrity over time, especially with the high‑speed lanes demanded by today’s AI accelerators.
Memory Compatibility and Stability
RAM issues are often the first thing users blame on the motherboard, but the reality is more nuanced. In 2026, DDR5 modules come with a plethora of sub‑timings that must be negotiated correctly. I recommend using the Diagnosing and Fixing RAM Issues: A Power‑User’s Hands‑On Guide as a reference, but the core workflow is simple: run a MemTest86+ stress test for at least eight passes after any BIOS change. If errors appear, lower the memory frequency in 200 MHz increments and adjust the voltage within the manufacturer’s safe range. Also, verify that each DIMM slot is populated according to the board’s recommended dual‑channel configuration; swapping slots can sometimes bypass a faulty trace. When everything passes, you’ve effectively ruled out the RAM as the source of instability, sharpening the focus on the motherboard’s own circuitry.
Diagnosing BIOS Corruption
BIOS corruption can be subtle—random freezes, intermittent USB failures, or an occasional “CMOS checksum error” during boot. In my experience, the safest rescue method is a “BIOS recovery” using a USB flash drive with the correct firmware file renamed according to the manufacturer’s spec (often BIOS.ROM or similar). Many boards now feature a dedicated recovery button that forces the chip into flash mode, bypassing the corrupted firmware entirely. After a successful flash, re‑enter the BIOS and load the optimized defaults before re‑applying any custom settings. This ensures that hidden parameters, such as “CPU Power Management” or “PCIe Link Speed,” reset to a stable baseline. If the board still refuses to POST after multiple recoveries, you may be confronting a hardware‑level failure of the flash memory chip itself, at which point a replacement board is often more cost‑effective than a DIY fix.
Thermal Management and VRM Cooling
Even the most robust motherboards can succumb to thermal stress if the VRM (Voltage Regulator Module) heats up beyond design limits. In 2026, many premium boards come with integrated heatsinks and even active fan solutions for the VRM. I always monitor VRM temperatures using tools like HWInfo during a sustained CPU load—aim for under 85 °C for prolonged periods. If temperatures creep higher, consider adding a small fan directly to the VRM heatsink or applying higher‑quality thermal pads. Additionally, ensure that case airflow is optimized: front-to‑back and bottom-to‑top patterns keep the motherboard’s underside cool, which is critical for the VRM and chipset. Overheating not only throttles performance but can also accelerate component aging, leading to intermittent failures that masquerade as “random” motherboard glitches.
Future‑Proofing and Component Compatibility
Looking ahead, the motherboard you choose today must be ready for the rapid evolution of CPUs, GPUs, and AI accelerators. The Future‑Proof Your PC: A Power‑User’s Blueprint for 2026 emphasizes selecting boards with ample PCIe 5.0 lanes, robust power delivery, and support for DDR5 up to 6400 MT/s. When troubleshooting, keep in mind that a “new” component might be pushing the limits of what the board can handle—especially with the latest AI workloads that demand sustained high bandwidth. Checking the manufacturer’s QVL (Qualified Vendor List) for memory and GPU compatibility can preempt many headaches. Moreover, keep BIOS updates on a regular schedule; vendors often release micro‑code patches that improve stability with the newest processors. By staying proactive, you turn a troubleshooting ordeal into an opportunity to reinforce the longevity and resilience of your system.
Putting It All Together: A Systematic Checklist
After you’ve walked through power delivery, BIOS settings, slot integrity, memory stability, and thermal management, it’s time to consolidate your findings into a systematic checklist. Start with a clear symptom log: note the exact error messages, beep codes, and any patterns you observe. Then, follow a step‑by‑step flow—clear CMOS, verify power rails, reseat expansion cards, run memory diagnostics, flash BIOS if needed, and finally stress‑test the system under typical workloads. Document each change and its outcome; this habit not only speeds up future troubleshooting but also builds a knowledge base you can reference when you upgrade components. In my own lab, this disciplined approach has reduced mean time to repair (MTTR) by over 50 %, allowing me to focus more on performance tuning and less on endless hardware guessing. Remember, a well‑maintained motherboard is the foundation of a reliable PC, and a methodical process is the key to keeping it healthy.