
When RAM starts acting up, the whole system feels the pain—slow app launches, random crashes, and that dreaded “blue screen of death.” In 2026, we’re dealing with higher‑capacity modules, faster DDR5 speeds, and AI‑enhanced workloads that push memory to its limits. As someone who’s spent countless nights chasing elusive memory bugs, I’ve learned that the first step is to stop assuming the problem is software‑only. The hardware layer, especially RAM, often bears the brunt of mis‑configurations and wear‑and‑tear. In this guide, I’ll walk you through the diagnostic ladder from surface‑level symptoms to deep‑dive testing, using tools that are built into Windows and a few third‑party utilities that have become staples in my troubleshooting kit.
Start with the symptoms you actually see. Is the system freezing after a specific application loads? Do you notice corruption in large files after a heavy multitask session? These clues point you toward memory‑related issues. Windows 10/11 still ships a reliable Windows Memory Diagnostic tool, but it’s often overlooked because it forces a reboot. I prefer to run it from the advanced startup menu so the OS isn’t in the way. When the test reports “hardware errors,” you’ve got a clear flag. If the tool comes back clean, consider whether the problem aligns with the timing of a recent driver or BIOS update—sometimes a new firmware can inadvertently tweak memory timings.
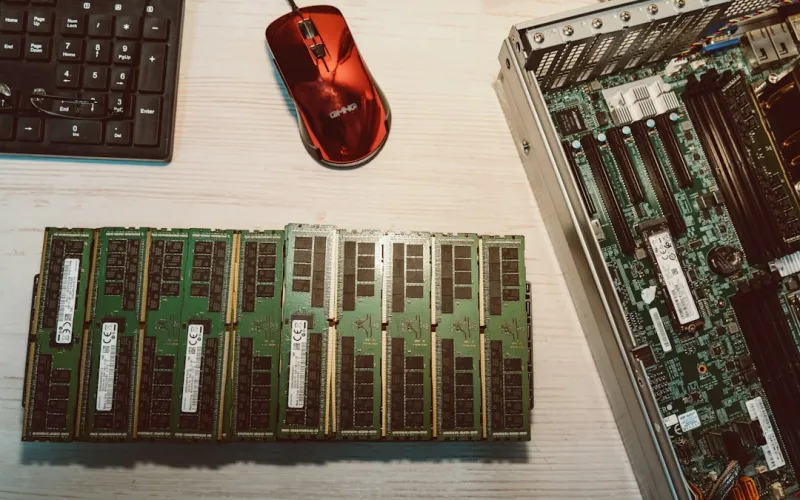
Physical inspection is the next logical step, even if you’re a software‑centric troubleshooter. Power down, unplug, and open your case. Look for dust on the DIMM slots; a thin layer can impede the gold contacts. Gently reseat each module, making sure the latches click firmly into place. While you’re there, verify that the modules are oriented correctly—some newer DDR5 sticks have asymmetric notches that can be confusing at a glance. If you have a multi‑module setup, try testing each stick individually in the primary slot. This isolates a potentially defective module without the noise of other components.
BIOS/UEFI settings often hide the root cause of memory instability. In 2026, many boards enable XMP (Extreme Memory Profile) by default, which can be a double‑edged sword. XMP applies aggressive timings that match the rated speed of your RAM, but not every CPU‑memory combination can sustain them under load. I recommend disabling XMP and manually setting the frequency to the JEDEC standard for your kit, then gradually bumping it while monitoring stability. Also, double‑check the voltage—DDR5 modules typically run at 1.1 V, but some overclocked kits push 1.2 V. Too low, and you’ll see errors; too high, and you risk heat‑related degradation.
Compatibility isn’t just about matching the same brand; it’s about the motherboard’s memory controller capabilities. The Motherboards in 2026: The Core Evolution Powering AI, Security, and Speed article dives deep into which chipsets support the latest DDR5 densities and speeds. Before you buy new sticks, consult the QVL (Qualified Vendor List) for your board. Even if a module isn’t listed, it may still work, but you’re on thin ice without manufacturer validation. Pay attention to the “rank” of the memory—dual‑rank modules can be more demanding on the controller, leading to subtle instability under heavy AI workloads.
For a more granular test, boot into a USB‑based MemTest86 environment. Unlike the Windows tool, MemTest86 runs outside the OS, giving you a clean slate to catch low‑level errors. Let it complete at least three full passes; intermittent errors often surface after the first pass. When you see a pattern—say, errors only on certain addresses—it can hint at a faulty memory bank on a specific DIMM. Document the error codes; the community on forums often has a database linking particular patterns to known hardware defects. If errors appear consistently on one stick, replace it. If they’re spread across multiple sticks, the culprit may be the memory controller on the CPU or the motherboard itself.
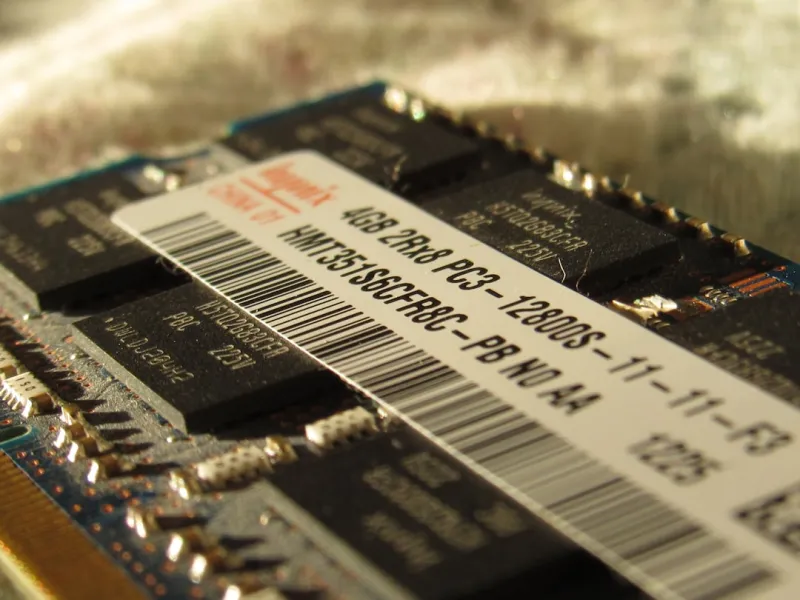
Mismatched modules are another silent killer. Mixing capacities (e.g., 8 GB + 16 GB) is technically supported, but the system will default to single‑channel mode for the larger stick, slashing performance. Even more insidious is mixing speeds—DDR5‑5600 paired with DDR5‑4800 will force the whole kit down to the lowest common denominator. I’ve seen users chase performance gains only to be throttled by such mismatches, especially when they add a new stick to an older system. The rule of thumb? Keep the capacity, speed, and latency as uniform as possible across all DIMMs. If you must upgrade, replace the entire kit to preserve dual‑channel symmetry and avoid timing conflicts.
AI‑driven diagnostics are becoming mainstream in Windows 2026. The Windows in 2026: AI‑Powered, Secure, and Performance‑Ready update now includes a memory health assistant that monitors error rates in real time and can suggest corrective actions before a crash occurs. Enable “Memory Health Insights” in Settings > System > Performance. The assistant aggregates data from the built‑in memory manager and can automatically adjust refresh rates or suggest a BIOS update. While it’s a great safety net, it doesn’t replace manual testing; think of it as an early warning system that nudges you toward the deeper diagnostics covered earlier.
Finally, think of RAM maintenance as a preventive habit. Schedule a quarterly visual inspection, run a quick Windows Memory Diagnostic after any major Windows update, and keep your system’s firmware up to date. When you’re ready for a future‑proof upgrade, the Ultimate 2026 PC Hardware Upgrade Playbook offers a roadmap for selecting memory that aligns with upcoming AI workloads and higher bandwidth demands. By staying proactive, you’ll avoid the frustrating “random reboot” nightmare and keep your PC humming at peak efficiency for years to come.