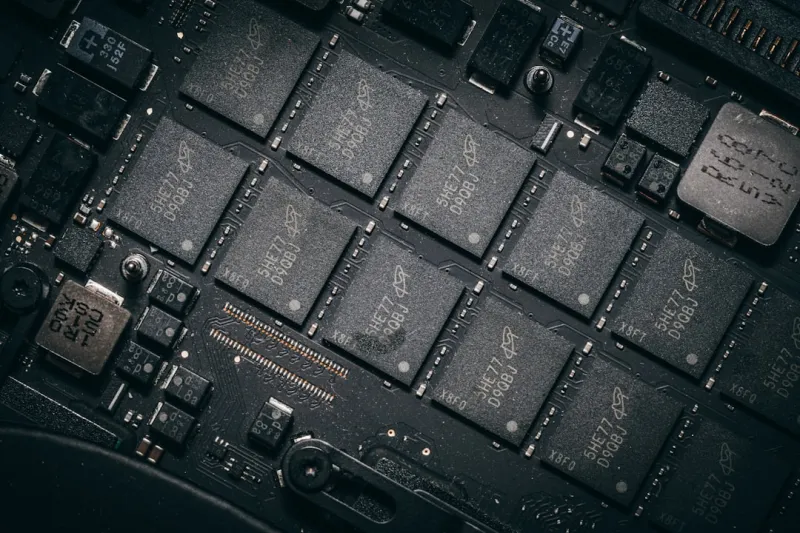

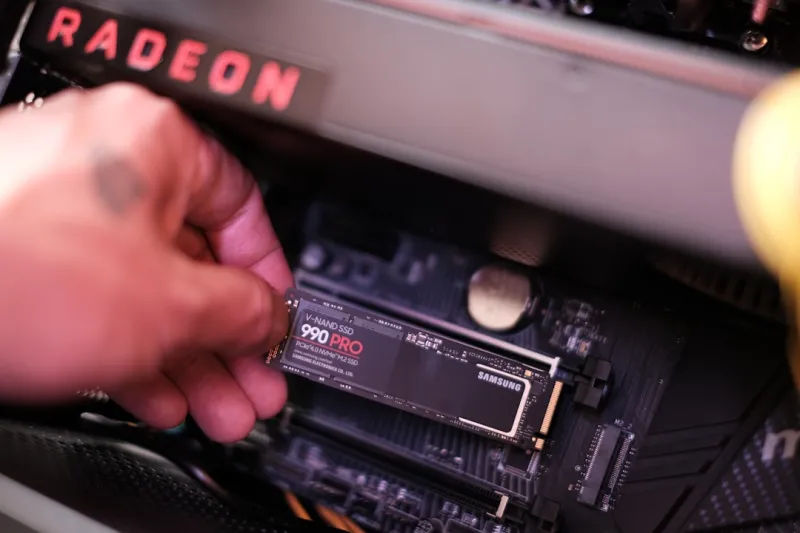
When I first started building my own rigs, I learned pretty quickly that RAM isn’t just the silent workhorse you hope will never fail—it’s the pulse that keeps every application, from a simple spreadsheet to a GPU‑intensive rendering engine, alive and kicking. In 2026, with DDR5‑5600 and even the early whispers of DDR6 on the horizon, the stakes are higher: a single mis‑configured module can throttle performance, trigger cryptic crashes, or even masquerade as a software bug. As a power user who lives on the edge of productivity and performance, I’ve had to turn RAM troubleshooting into an art form, blending hardware intuition with a methodical, data‑driven approach. In this guide I’ll walk you through the most common memory maladies, the diagnostic arsenal you should have on hand, and the proactive steps that keep your system humming long after the next big upgrade wave rolls in. If you’ve ever wondered why your PC feels sluggish after a fresh install or why a seemingly stable workstation suddenly throws a blue screen, you’re in the right place—let’s decode the memory mysteries together.
Why RAM Matters for Power Users
For anyone who treats their computer as an extension of their workflow, RAM is the first line of defense against bottlenecks. Modern workloads—think AI‑assisted content creation, high‑resolution video editing, and massive data‑set crunching—demand not just capacity but bandwidth, latency, and timing precision. In my own experience, swapping from 32 GB of DDR4 to a matched 32 GB DDR5 kit shaved seconds off large file renders and reduced frame‑drop incidents in 4K gaming sessions. But that upgrade also introduced new failure modes: the BIOS might default to conservative timings, or the XMP profile could push voltage just enough to cause instability under sustained load. That’s why understanding the interplay between your CPU’s memory controller and the DIMM specifications is crucial. When you pair the right speed with the appropriate voltage, you unlock the full bandwidth that today’s multi‑core processors crave. If you’re looking for a broader hardware context, check out Designing a Future‑Proof Motherboard Setup for Power Users to see how motherboard choices can amplify or bottleneck your memory’s potential.
Diagnosing the Invisible: Tools and Techniques
The first step in any RAM troubleshooting quest is to confirm that the symptoms truly originate from memory. Windows 2026 ships with an upgraded Memory Diagnostic utility, but for power users I recommend a two‑pronged approach: run the built‑in tool for a quick sanity check, then follow up with a bootable MemTest86+ session for deeper stress testing. MemTest86+ cycles through a battery of patterns that expose subtle errors like bit‑flips, timing glitches, or voltage sag under heat. I always schedule a full eight‑pass run overnight; if any errors pop up, even a single one, it’s a clear sign the module—or its slot—is compromised. Complement this with a real‑time monitoring suite such as HWInfo64, which lets you watch DRAM voltage, frequency, and temperature while the system is under load. Look for spikes or drops that correlate with crashes. For a software‑centric view, the Event Viewer can surface “Memory Management” warnings that often precede a blue screen. These diagnostics are the digital stethoscope that tells you whether you’re dealing with a hardware ailment or a mis‑configuration.
Hands‑On Fixes: From Reseating to Replacement
Once you’ve isolated the memory as the culprit, the physical inspection becomes your next battlefield. Start by powering down, unplugging, and grounding yourself to avoid ESD. Remove each DIMM and reseat it firmly—sometimes a simple “pop‑and‑click” can cure intermittent contact issues caused by dust or a slightly warped notch. If you have multiple sticks, test them one at a time in the primary slot; this isolates a faulty module and also reveals slot-specific problems. I keep a set of known‑good sticks on hand, often salvaged from older builds, to cross‑reference. When you identify a bad stick, the decision to replace hinges on warranty status and performance needs. In 2026, many manufacturers offer a “lifetime” warranty on DDR5 modules, but you’ll need to navigate their RMA portals quickly before the defect window closes. After replacement, re‑enable any XMP or DOCP profiles in the BIOS, but start with the manufacturer’s default timings to verify stability before pushing the envelope.
Firmware, BIOS, and Overclocking Pitfalls
Even flawless hardware can misbehave if the firmware isn’t speaking the same language as the OS. BIOS updates are often overlooked, yet they frequently contain memory controller tweaks that resolve compatibility issues with newer CPUs or higher‑speed DIMMs. In my own rigs, a BIOS patch released early in 2026 resolved a dreaded “Memory Training Failure” that plagued several flagship motherboards when paired with the latest 13th‑gen Intel processors. When you enable XMP profiles, you’re essentially overclocking the memory; if you notice sporadic freezes after the BIOS update, dial back the frequency by 200 MHz and increase the DRAM voltage in 0.01 V increments until stability returns. Keep an eye on the “Memory Overclocking” section of the BIOS, where you can fine‑tune CAS latency, tRCD, tRP, and tRAS. For a deeper dive into Windows‑level memory management, the guide Unlocking Windows 2026: A Power‑User’s Playbook for Mastery offers advanced settings like Large System Cache and Memory Compression that can further influence perceived performance.
Advanced Strategies: ECC, Dual‑Channel, and Future‑Proofing
If you’re operating in a workstation or server environment, error‑correcting code (ECC) memory adds an extra safety net by detecting and correcting single‑bit errors on the fly. While ECC isn’t a necessity for most gamers, it’s indispensable for data integrity in scientific simulations or financial modeling—areas where a single corrupted bit can cascade into costly errors. Dual‑channel configurations also double the data path width, effectively boosting bandwidth without raising clock speeds. However, mixing capacities or speeds can break the channel symmetry, leading to sub‑optimal performance or instability. When planning a future‑proof build, aim for a balanced kit: matching sticks, identical timings, and a motherboard that supports higher‑density modules. This foresight pays off when you later upgrade to a 64 GB or 128 GB configuration without needing a new board. For a holistic upgrade strategy, consult Maximize Your 2026 PC Upgrade: A Power‑User’s Complete Blueprint, which outlines how memory choices intersect with GPU, storage, and cooling considerations.
Preventive Maintenance and Monitoring
Proactive care is the cheapest insurance policy against memory failures. Keep the RAM slots clear of dust by using compressed air during routine cleaning—accumulated particles can act as thermal insulators, raising DRAM temperatures and accelerating wear. Monitor temperature thresholds in real time; most modern modules stay below 85 °C, but sustained operation above 80 °C can degrade signal integrity. Additionally, schedule periodic stress tests, such as a weekly MemTest86+ run, to catch early‑stage degradation before it manifests as a crash. Software utilities that log “Correctable ECC Errors” (if supported) can also serve as early warning signs. Finally, document your memory configuration—keep a spreadsheet noting module brand, part number, BIOS version, and XMP profile settings. This habit simplifies troubleshooting down the line and makes RMA processes smoother. By treating RAM like a living component—regularly checked, cooled, and updated—you’ll extend its lifespan and keep your power‑user workflows uninterrupted.
When All Else Fails: Knowing When to Call in the Pros
Even the most diligent DIYer hits a wall when a subtle motherboard fault mimics RAM issues, or when a firmware bug causes intermittent memory training errors that no amount of reseating can fix. In those scenarios, it’s wise to enlist professional support—either the motherboard manufacturer’s technical hotline or a certified repair service. Provide them with the logs you’ve collected: MemTest86+ results, BIOS version, and any Event Viewer error codes. This data-driven handoff often accelerates the resolution, as the support team can pinpoint whether the problem lies in the DIMM, the DIMM slot, or the memory controller itself. Remember, a swift RMA can be a cost‑effective alternative to a full board replacement, especially if you’re under warranty. And while waiting for a replacement, keep a backup system ready with compatible memory so you can continue critical work without interruption. Embrace the mindset that troubleshooting is an iterative process, and each dead‑end brings you closer to a definitive fix.