

When your workstation starts behaving like a jittery teenager on a caffeine binge, my first instinct is to question the memory. In 2026, even the most polished SSDs and bleeding‑edge GPUs can’t mask a flaky RAM module, and for power users who juggle VMs, AI‑assisted compilers, and massive datasets, memory stability is the bedrock of productivity. I’ve spent countless late‑night debugging sessions watching a single misbehaving stick turn a flawless build into a cryptic crash dump. Over the years I’ve distilled those chaotic moments into a repeatable playbook: isolate, test, and, if needed, replace. This article walks you through that exact process, blending hard‑core diagnostics with the kind of pragmatic shortcuts that keep my own rigs humming without a hitch.
Spotting the Symptoms Before They Spiral
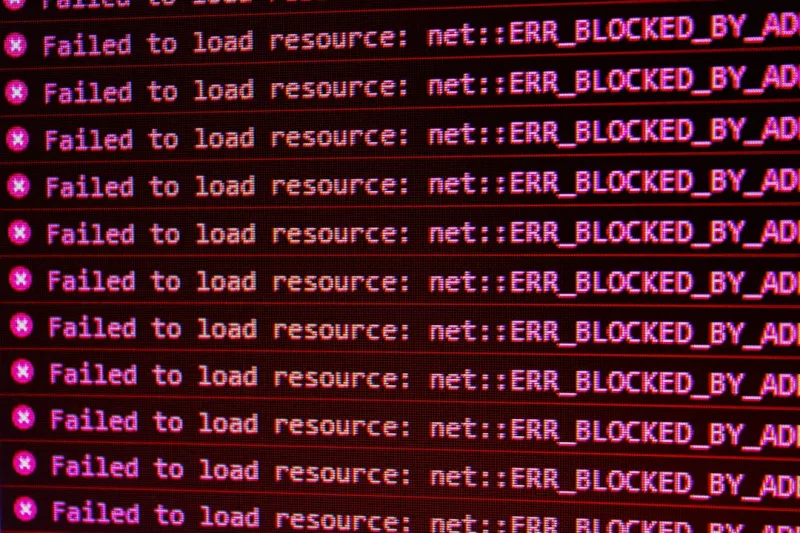
The first clue that RAM is the culprit usually appears as a pattern rather than an isolated glitch. Random application freezes, unexpected reboots, or the dreaded “memory management” stop code are classic red flags. In my experience, the most telling sign is a surge of Blue Screen of Death (BSOD) errors that reference “PAGE_FAULT_IN_NONPAGED_AREA” or “SYSTEM_THREAD_EXCEPTION_NOT_HANDLED.” If you notice that your IDE crashes precisely when you compile a massive C++ project or your AI model training stalls mid‑epoch, write those timestamps down. Cross‑reference them with Windows Event Viewer or the built‑in Reliability Monitor; a recurring memory‑related error code is a strong indicator that the silicon is misbehaving, not your code. And remember, intermittent issues are often the hardest to catch—keep a log, because the pattern you spot later will save you hours of blind troubleshooting.
Running the Right Diagnostic Tools
Windows ships with a basic Memory Diagnostic tool, but for a power‑user the gold standard is MemTest86. Boot the utility from a USB stick and let it run at least three full passes; any error, even a single failing address, should be treated as a failure. I always pair this with the built‑in Windows test because it can catch issues that only appear under the OS’s memory management scheme. When the test completes, scrutinize the log—errors that cluster in a specific range often point to a particular DIMM slot or module. If the results are clean, you can safely move on to the next suspect. But if you see a handful of errors, note the exact addresses; they’ll be useful when you later check BIOS diagnostics or when you contact the manufacturer for an RMA.
Physical Inspection: Seating, Dust, and Contact
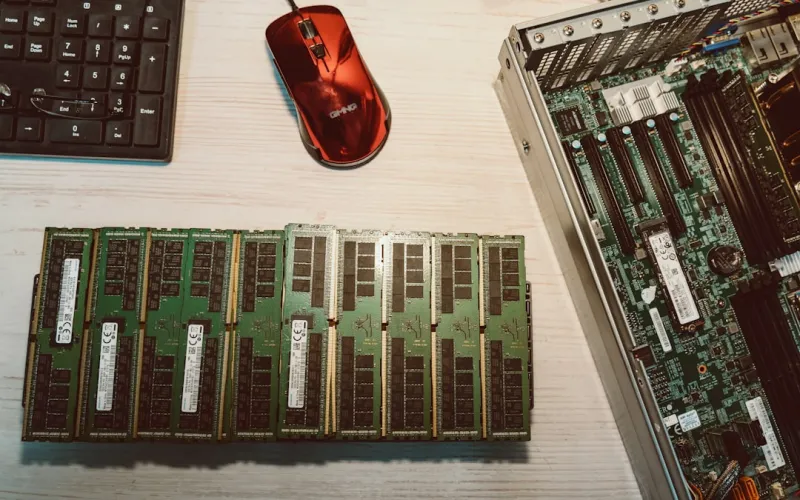
Even the most advanced diagnostics can’t compensate for a loose DIMM or a layer of dust acting like an insulator. Power down your rig, disconnect the power cord, and ground yourself before you touch any components. Gently release the side latches and lift the module straight out—never twist it. Inspect the gold contacts for oxidation; a quick swipe with a lint‑free cloth and a bit of isopropyl alcohol can restore a clean surface. When you reseat, make sure the module clicks evenly into both sides of the slot; an uneven insertion often leaves one side partially unengaged, leading to sporadic errors that are maddening to debug. While you’re at it, give the surrounding slots a light vacuum to clear any buildup—airflow is crucial, especially in high‑performance rigs that run hot.
BIOS/UEFI Tweaks: Voltage, Timings, and XMP
Modern motherboards give you granular control over memory settings, and a misconfiguration can masquerade as a hardware defect. First, ensure your BIOS is updated to the latest 2026 firmware; manufacturers regularly release micro‑code patches that improve RAM compatibility. Then, check the XMP profile: enabling it will automatically set the advertised speed, timings, and voltage, but if you’re overclocking, consider a modest manual tweak. Increase the DRAM voltage by 0.05 V increments if you see instability at rated speeds, but stay within the manufacturer’s safe range—over‑volting can shorten lifespan. Use the memory training feature if your board offers it; this runs a quick calibration at boot and can resolve subtle timing mismatches. After each change, run a short MemTest86 pass to confirm stability before proceeding.
Compatibility and Mixing Modules
It’s tempting to blend an old 16 GB stick with a new 32 GB kit to reach a massive pool, but mixing capacities, speeds, or manufacturers often leads to timing conflicts. The rule of thumb I follow is “like with like”: identical part numbers, same latency (CL), and matching voltage. If you must mix, set the memory to the lowest common denominator in the BIOS—this usually means the slower speed and looser timings. Also, verify that your motherboard’s QVL (Qualified Vendor List) includes the specific modules you’ve installed; even if they’re not listed, community forums can be a valuable resource for anecdotal compatibility reports. Remember, a mismatched configuration can cause the system to default to a sub‑optimal mode, triggering the same crashes you’re trying to avoid.
When to Replace: Choosing Future‑Proof Modules
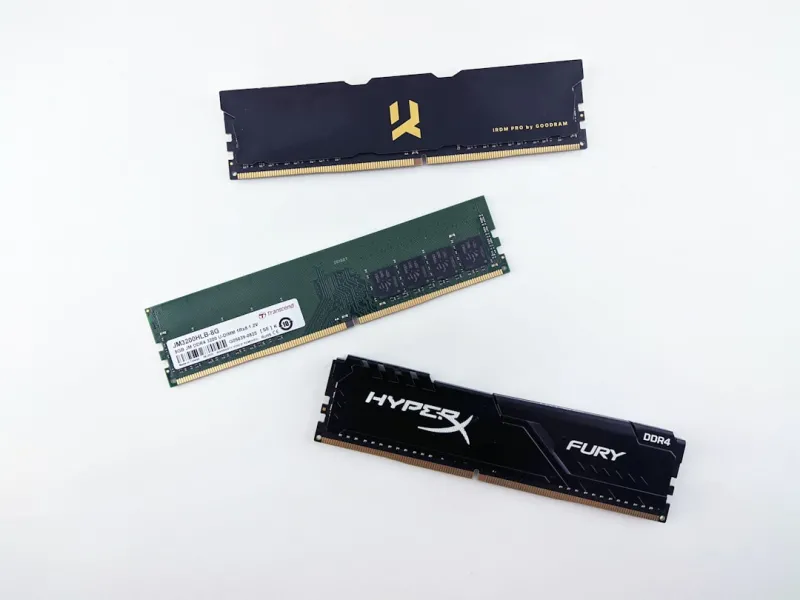
If diagnostics pinpoint a defective stick, or if you’re already pushing the limits of your workload, it’s time to invest in a fresh kit. In 2026, DDR5 is the mainstream standard for high‑end builds, offering 40‑50 % higher bandwidth than DDR4. Look for modules with a good balance of speed (5600‑6000 MT/s) and latency (CL30‑32) that match your motherboard’s max supported specifications. Brands that provide a lifetime warranty and robust heat spreaders are worth the premium; they keep temperatures low under sustained loads, which directly translates to longevity. Pair your new RAM with a power supply that has clean, stable rails—fluctuations can cause memory errors that masquerade as module failures. And always keep your receipts; many manufacturers offer free RMA within the first year, which can save you a costly surprise later.
Integrating the Playbook with Your Existing Knowledge Base
If you’ve already read Why Your RAM Keeps Crashing and How to Fix It Fast, you know the urgency of addressing memory errors before they snowball into data loss. This article builds on that foundation by adding a systematic, step‑by‑step approach that fits seamlessly into the broader power‑user ecosystem. For a holistic hardware strategy, I also recommend checking out Future‑Proof Your Power‑User PC: Hardware Strategies That Really Work, which covers everything from GPU selection to storage tiering. By cross‑referencing these resources, you create a living document that evolves with your rig, ensuring you stay ahead of the next wave of software demands without falling into the trap of reactive troubleshooting.
Proactive Maintenance and the Road Ahead
Memory isn’t a “set it and forget it” component; it benefits from periodic checks, especially as firmware updates roll out and workloads evolve. Schedule a quarterly MemTest86 run—set it to automatically reboot after each pass, so it can run overnight without manual intervention. Keep an eye on your system’s thermal profile; excessive heat can accelerate capacitor wear inside DIMMs, leading to subtle errors over time. Finally, stay informed about emerging memory technologies like DDR6, which may start appearing in niche workstations by the end of 2026. By treating RAM health as an ongoing maintenance task, you’ll enjoy fewer crashes, smoother multitasking, and the confidence that your power‑user machine can handle whatever the next software wave throws at it.