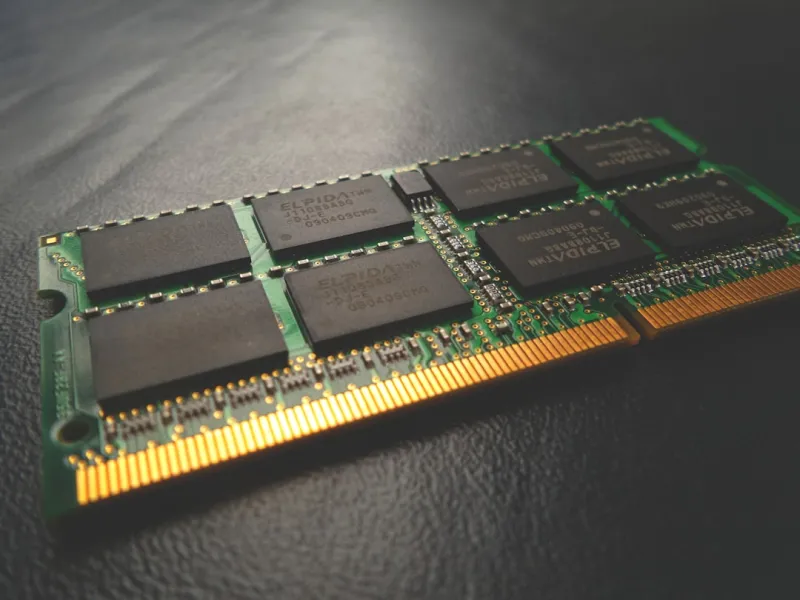

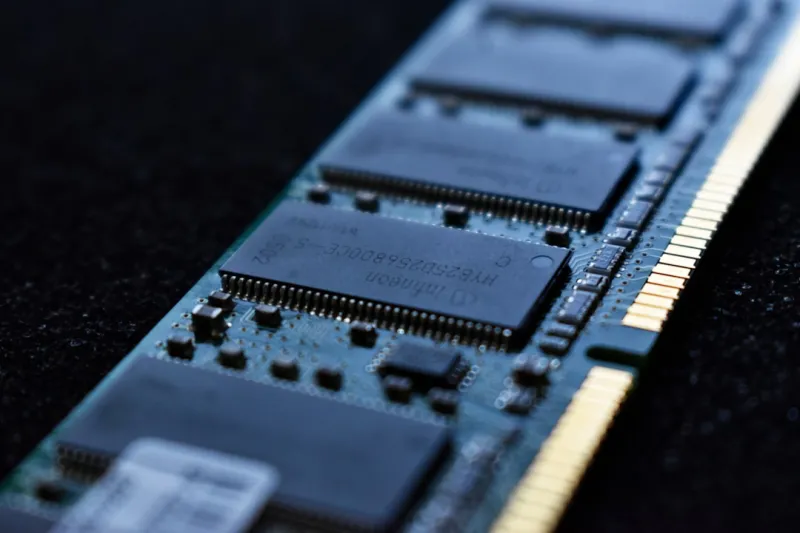
When I first started building a workstation for deep‑learning workloads in 2026, the memory subsystem felt like the most mysterious piece of the puzzle. You can throw a 64 GB DDR5 kit onto a high‑end motherboard, and still end up with random crashes, sluggish performance, or that dreaded blue screen that still haunts power users. The truth is, RAM isn’t just a passive data holder; it’s an active participant in every clock cycle, and even a single faulty chip can cripple an otherwise perfect build. In this post I’ll walk you through the systematic approach I use to diagnose, test, and ultimately conquer memory problems, drawing on lessons from my own late‑night debugging sessions and the collective wisdom of the power‑user community. Expect concrete steps, real‑world anecdotes, and a few links to deeper resources like Why Your PC’s Memory Fails and How to Fix It Fast that will help you move from “it just works… sometimes” to “I’m in control of every byte.”
Identifying the Symptoms That Really Matter
Most users think a “slow computer” equals a need for more RAM, but the reality is subtler. In 2026, the tell‑tale signs of memory trouble include sporadic freezes during large file transfers, inconsistent benchmark scores, and the classic “random BSOD” that appears without a clear pattern. I’ve learned to differentiate between software‑induced lag and hardware‑level failures by monitoring system logs and Event Viewer entries: look for error codes like 0x00000124 (hardware watchdog timeout) or recurring “Memory Management” alerts. When these appear, it’s a strong hint that the RAM or its controller is misbehaving. Another useful clue is the timing of the crashes—if they happen under heavy multi‑threaded loads, such as rendering a 4K video or running a massive simulation, you’re likely hitting the limits of your memory’s latency or bandwidth. This diagnostic mindset saves countless hours that would otherwise be spent reinstalling drivers or tweaking BIOS settings blindly.
Boot‑Time Checks: BIOS/UEFI and SPD Data
The first place I go after spotting a symptom is the firmware interface. Modern UEFI boards in 2026 expose detailed SPD (Serial Presence Detect) information, showing module voltage, timing, and rank configuration. Open the BIOS, enable “XMP” only after confirming the listed timings match the manufacturer’s specifications; a mismatch can cause subtle instability. I also double‑check that the memory is recognized at the correct capacity—some boards will show 63 GB instead of 64 GB if a single chip fails the POST test. While you’re there, verify that the memory voltage is set to the module’s rated value (usually 1.35 V for DDR5‑6000) and not the default 1.25 V that some motherboards apply to conserve power. A quick way to confirm is to run a UEFI‑based diagnostic like MemTest86+ directly from the boot menu; it reads the SPD data and can flag timing mismatches before the OS even loads. This step often uncovers configuration errors that software tools later misinterpret as hardware faults.
Stress‑Testing with MemTest86 and Beyond
Once the BIOS checks out, I move to rigorous memory testing. MemTest86 remains the gold standard in 2026, offering multiple passes, error‑correcting code (ECC) simulation, and even a “bit‑flip” test that stresses each cell repeatedly. I run at least three full passes on a system that’s otherwise idle—this can take several hours on a 64 GB kit, but it’s worth the wait. If MemTest86 reports any errors, note the exact address and pattern; this information is invaluable when contacting the vendor for RMA. For those who prefer a Windows‑based approach, the built‑in Windows Memory Diagnostic can serve as a quick sanity check, though it lacks the depth of MemTest86’s algorithms. Additionally, I like to complement these tests with real‑world workload simulations: launch a large compile job or a TensorFlow training session while monitoring the system’s stability. If errors surface only under sustained load, it may indicate an issue with the memory controller on the CPU rather than the DIMMs themselves. In such cases, reviewing the CPU’s microcode updates—often bundled with motherboard BIOS releases—can resolve hidden incompatibilities.
Compatibility, Timings, and the XMP Trap
Even with perfectly good modules, pairing them with a new motherboard can create friction. The “XMP trap” I refer to is the tendency to enable the highest‑rated XMP profile without confirming the board’s support for those speeds. In 2026, many B‑series chipsets claim DDR5‑6600 support on paper, but real‑world testing shows they cap out at DDR5‑5600 under certain configurations. I always consult the motherboard’s QVL (Qualified Vendor List) and cross‑reference it with the module’s SPD profile. If the board lists the kit as “compatible at 5600 MT/s,” but you push it to 6000 MT/s via XMP, you’ll likely encounter timing violations that manifest as intermittent crashes. The solution? Manually set the frequency to a proven stable value and fine‑tune the CAS latency (CL) and tRCD/tRP timings. Reducing the frequency by just 200 MT/s can eliminate errors while still delivering ample bandwidth for most power‑user tasks. Remember, stability trumps raw numbers—especially when your workstation is expected to run 24/7.
Firmware and Driver Updates: The Overlooked Fix
One of the most common, yet underappreciated, remedies for RAM‑related issues is keeping the firmware and drivers up to date. CPU microcode updates, released quarterly by Intel and AMD, often include memory controller patches that address subtle timing bugs. In the same vein, motherboard manufacturers publish BIOS revisions that improve SPD parsing, voltage regulation, and even introduce better support for high‑density DIMMs. I make it a habit to check the Critical Updates Power Users Must Act On Now article each month, applying any relevant BIOS or chipset driver updates before diving into hardware changes. Don’t forget the operating system’s memory management updates—Windows 11’s 2026 cumulative update introduced a more aggressive “Memory Compression” feature that, while beneficial for low‑RAM systems, can cause conflicts with certain high‑performance RAM configurations. Disabling this feature in the system settings can sometimes restore stability without any hardware changes.
When to Replace: Spotting the Irreversible Signs
After exhausting configuration tweaks and firmware updates, you may still face persistent errors. At this point, it’s time to evaluate whether the memory modules themselves are beyond repair. Repeated errors on the same address across multiple MemTest86 passes, especially after swapping DIMMs between slots, point to a defective chip. In 2026, many manufacturers offer limited‑lifetime warranties on DDR5 modules, but the claim process can be tedious. To streamline it, keep a log of the error addresses, test results, and the exact configuration used during each test. This documentation speeds up RMA approvals and helps you avoid a “swap the same bad chip” scenario. When purchasing replacements, consider newer low‑latency kits that are validated for your motherboard’s BIOS version. The Ultimate PC Upgrade Playbook for Power Users provides a handy checklist for selecting RAM that balances speed, capacity, and long‑term reliability.
Preventive Maintenance: Keeping Your Memory Healthy
Even the best‑quality RAM benefits from regular preventive care. Dust buildup on the DIMM slots can interfere with heat spreaders, leading to localized overheating. I schedule a quarterly cleaning routine using compressed air and a soft brush, making sure to reseat the modules afterward to maintain proper contact. Monitoring tools like HWInfo64 or the built‑in Windows Resource Monitor can alert you to abnormal temperature spikes—DDR5 modules typically operate safely below 85 °C, but sustained operation near that threshold can accelerate wear. Additionally, I configure the system’s power plan to avoid aggressive down‑clocking of the memory during idle periods, which can introduce voltage fluctuations. Finally, keep an eye on future‑proofing: as software demands evolve, you may need to expand capacity or migrate to newer memory standards. Planning upgrades with a modular approach—using quad‑channel configurations and leaving spare slots open—makes future expansions smoother and less disruptive.
Wrapping Up: From Frustration to Mastery
Memory troubleshooting can feel like navigating a maze of cryptic error codes and obscure BIOS menus, but with a methodical approach, you can turn that frustration into mastery. By first identifying the exact symptoms, then verifying BIOS settings, running thorough stress tests, and staying current with firmware updates, you’ll resolve the majority of RAM‑related woes without expensive part swaps. When replacement is unavoidable, armed with detailed error logs and a solid understanding of compatibility, you’ll secure the right modules the first time around. As power users, we thrive on extracting every ounce of performance from our rigs, and that includes ensuring the memory subsystem is rock‑solid. Keep these strategies in your toolkit, and the next time your PC flickers, you’ll know exactly where to look—and how to fix it.