- Comp Doc Computers Serving Belleville & Quinte Region Since 2001
When your computer isn't working, you need someone who knows what they're doing and you need help without the runaround.
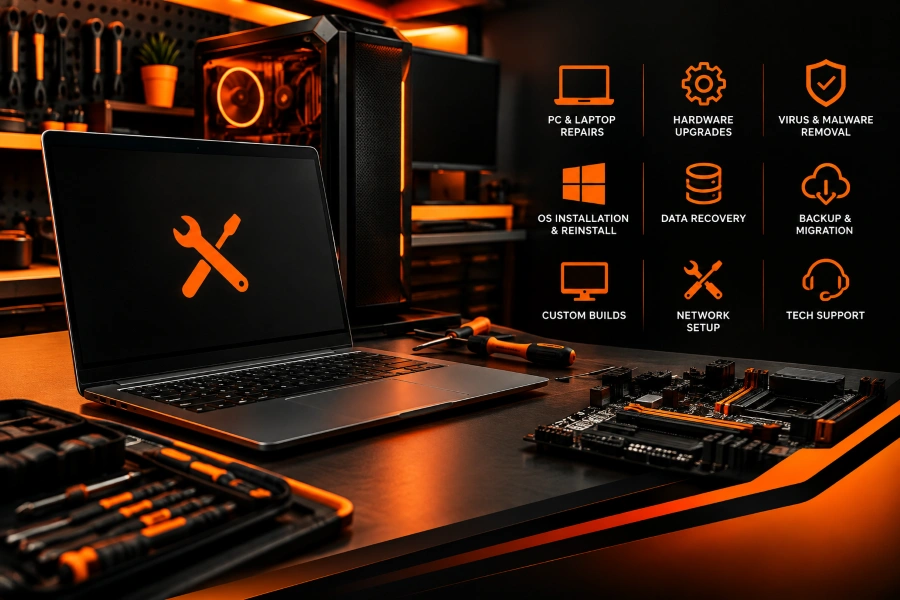
Comp Doc Computers has been helping home users and businesses with computer problems since 2001. With 30+ years of industry experience and Microsoft-certified service, we're here to help with everything from computer and laptop repairs to virus removal, data recovery, networking, upgrades, and new computer setup.
Home. Office. Small Business. Larger Business.
We provide practical computer support with flat-rate pricing, a 90-day money-back guarantee, free phone consultations, and discounts for seniors and students.







At Comp Doc Computers, we understand how frustrating it is when your technology lets you down. With more than 30 years of industry experience, Shawn-a certified Microsoft technician-has provided trusted IT solutions to countless local businesses and home users. We offer free over-the-phone consultations, so please feel free to give us a call today. Plus, we are proud to offer special discounts for seniors and students!

A practical guide to identifying, diagnosing, and fixing common motherboard issues, with expert tips, diagnostic tools, and preventive maintenance strategies.When my first custom rig threw a tantrum and refused to POST, I learned the hard way that the motherboard is both the heart and the nervous system of a PC. It’s the silent workhorse that most users never meet, yet it’s the first point of failure when anything goes wrong. Over the years I’ve turned countless “dead board” scares into teach‑able moments, and I’ve distilled those experiences into a practical roadmap that any power‑user can follow. In 2026, with newer firmware, faster RAM, and more power‑hungry CPUs, the troubleshooting dance has gotten a little more intricate—but the fundamentals remain rock solid. This article walks you through the most common motherboard woes, how to diagnose them efficiently, and when to call it quits and replace. Grab a screwdriver, keep your anti‑static wrist strap handy, and let’s demystify those mysterious beeps and blank screens together. Recognizing the Tell‑Tale Symptoms The first step in any motherboard rescue mission is to catalog the symptoms accurately. A board that powers on but never reaches the BIOS screen could be suffering from a power delivery issue, a faulty CPU socket, or a dead CMOS battery. Intermittent freezes, random reboots, or sudden shutdowns often point to unstable VRM phases or overheating VRM components. If you hear a series of beeps, those are BIOS beep codes—each pattern is a coded SOS from the firmware. Conversely, a completely silent system—no fans, no lights, no POST—might be a dead power connector or a short circuit on the board. Keep a log of when the problem occurs, what peripherals are attached, and any recent hardware changes. This habit not only speeds up diagnosis but also builds a knowledge base that can save you hours of guesswork down the line. Power Delivery and BIOS Beep Codes Power delivery is the lifeblood of your motherboard, and a misbehaving power supply or a loose 24‑pin connector can masquerade as a board failure. Start by verifying that the PSU rails are within spec using a multimeter or a PSU tester. Next, examine the ATX power switch and front‑panel connectors—these tiny pins can become fickle after repeated cycles. When the system does emit beep codes, cross‑reference them with your board’s manual; most manufacturers publish a concise list of what each pattern means. For a deeper dive into systematic troubleshooting, I often recommend the Master Motherboard Troubleshooting Like a Pro guide, which walks you through interpreting beep codes, checking power phases, and isolating the culprit with minimal tools. Visual Inspection: The Art of Spotting Physical Faults Before you reach for software utilities, give the board a thorough visual once‑over. Look for bulging or leaking capacitors—those swollen “pancakes” are classic signs of age or poor voltage regulation. Check for scorch marks, cracked solder joints, or any foreign debris lodged in the PCIe slots. Pay special attention to the VRM heatsinks; dust buildup can dramatically reduce heat dissipation, leading to thermal throttling or outright shutdowns. If you spot any damaged components, a quick replacement of the offending capacitor or a careful cleaning with compressed air can resurrect a seemingly dead board. Remember, a clean, well‑ventilated motherboard is less likely to suffer from premature failure, especially in the demanding environments of modern gaming and content creation rigs. Leveraging Diagnostic LEDs and POST Cards Many modern motherboards come equipped with on‑board diagnostic LEDs that illuminate to indicate the stage of the POST process—CPU, DRAM, VGA, or boot device. If a particular LED stays lit, it’s a strong hint where the failure lies. For more granular diagnostics, a POST card can be inserted into a PCIe slot; it displays error codes that you can cross‑reference with the manufacturer’s documentation. This hardware‑level insight is invaluable when the BIOS won’t even launch. When using a POST card, ensure the system is powered off and the case is grounded to avoid static discharge. A quick glance at the LED or POST code often narrows the troubleshooting window from hours to minutes, letting you focus on the exact component that’s misbehaving. BIOS Updates and CMOS Resets: When Firmware Becomes the Villain Firmware glitches are more common than you think, especially after a CPU or RAM upgrade. An outdated BIOS may not recognize newer hardware, leading to silent boot failures. Before you panic, check the motherboard manufacturer’s website for a BIOS update that supports your current components. Flashing the BIOS can be risky, so follow the vendor’s instructions precisely—many boards now feature a “dual BIOS” or a “BIOS Flashback” button that lets you update without a CPU installed. If a fresh BIOS doesn’t solve the problem, a CMOS reset can clear corrupted settings. To do this, power down, unplug, and either remove the CMOS battery for a minute or use the dedicated reset jumper. This returns the board to its factory defaults and often resolves boot loops caused by misconfigured memory timings or voltage settings. Component Isolation: Testing RAM, CPU, and GPU Separately When the motherboard’s health is still uncertain, the next logical step is to isolate each major component. Start with RAM—use a single stick in the primary slot and run a memory diagnostic tool like MemTest86+. If errors appear, swap the stick or try a different slot. Next, test the CPU by placing the board on a non‑conductive surface, disconnecting all peripherals, and using a known‑good cooler to prevent overheating. Some users find that reseating the CPU and applying fresh thermal paste can cure elusive boot issues. Finally, remove the GPU and attempt to boot using the integrated graphics (if available); this helps determine whether a power‑hungry graphics card is overloading the VRMs. For a structured approach to these tests, the Diagnosing Motherboard Failures guide offers a step‑by‑step checklist that’s proven effective in my own workshop. Preventive Maintenance: Keeping Your Board Healthy for the Long Haul Even the most robust motherboards benefit from routine care. Schedule a quarterly cleaning session: unplug, remove the board, and use a soft brush plus compressed air to clear dust from heatsinks, fan blades, and slot connectors. Apply a thin layer of dielectric grease on edge connectors to protect against oxidation. Regularly monitor VRM temperatures using hardware monitoring tools; most modern BIOSes and software suites will alert you if temperatures exceed safe thresholds. When planning upgrades, consider power budgets carefully—overloading a board’s VRM with a high‑TDP CPU or multiple GPUs can accelerate wear. Investing in a high‑quality PSU with stable rails and sufficient headroom is a small price to pay for the longevity of your motherboard and overall system stability. When to Call It Quits and Move On Despite diligent troubleshooting, some motherboards reach the end of their service life. Signs that replacement is the wiser choice include recurring failures after component swaps, physical damage to the PCB, or an absence of BIOS support for newer CPUs. In these cases, channel the frustration into a strategic upgrade. A fresh board can unlock newer features like PCIe 5.0, DDR5 memory, and enhanced power delivery, giving you a performance boost that far outweighs the cost of a repair. If you’re looking for a roadmap to a seamless upgrade, check out the Turbocharge Your Rig: The Ultimate PC Upgrade Playbook, which walks you through selecting a compatible motherboard, migrating data, and fine‑tuning BIOS settings for optimal performance.
Read moreA practical, step‑by‑step guide to upgrading your PC in 2026, covering CPUs, GPUs, memory, storage, and more to keep your rig fast and future‑ready.
Read moreLearn how AI, shortcuts, and advanced features can transform your Microsoft Office experience into a high‑performance productivity engine.
Read more