
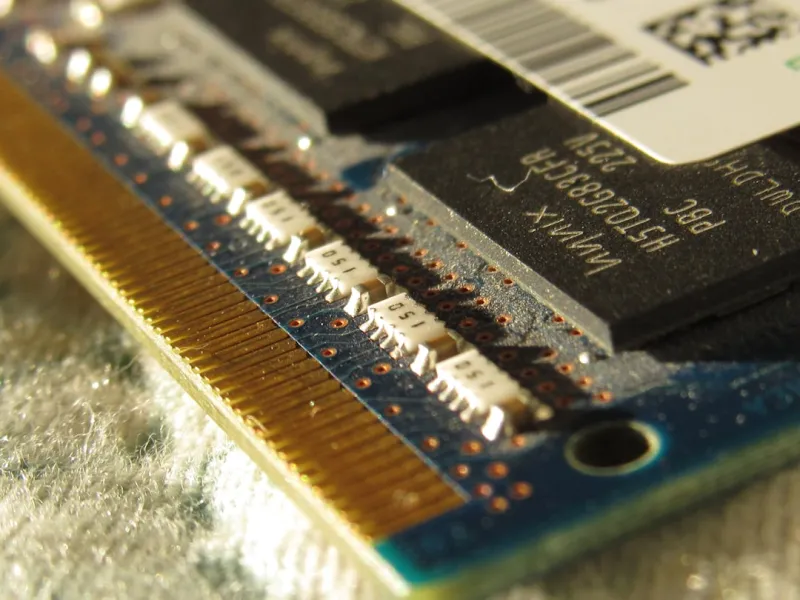
Memory is the silent workhorse of every modern PC, and in 2026 it’s more critical than ever. With AI‑enhanced apps, high‑resolution gaming, and cloud‑backed workloads demanding ever‑larger datasets, a single faulty DIMM can turn a high‑end rig into a sluggish brick. I’ve spent countless nights hunting down intermittent crashes, and the patterns are unmistakable: the problem almost always starts in RAM. In this post I’ll walk you through the exact symptoms, the tools I trust, and the step‑by‑step fixes that have saved my own builds and countless readers’ machines. By the end, you’ll have a clear roadmap to diagnose, repair, or upgrade your memory without guessing. Let’s demystify the RAM troubleshooting process and get your system back to the performance it deserves.
Recognizing the Red Flags of Failing RAM
Before you can fix a problem, you need to know it’s there. The most common warning signs include spontaneous blue screens of death (BSODs) with error codes like 0x0000001A, random system reboots, and inexplicable application crashes—especially in memory‑intensive programs like video editors or AI model trainers. You might also notice odd behavior such as files that won’t open, corrupted game saves, or even a sluggish boot sequence where the POST beep sounds normal but Windows drags its heels. In my experience, the “random freeze after a few minutes of gaming” is a classic RAM symptom that many users misattribute to graphics cards. Don’t ignore these cues; they’re the early warning lights that a deeper memory issue is brewing, and addressing them promptly can prevent data loss and costly hardware replacements.
Running the Right Diagnostic Tools
The first step in any RAM investigation is a solid diagnostic run. Windows 2026 still ships with the built‑in Windows Memory Diagnostic, which you can launch from the Start menu and let run a full pass on the next reboot. For a more thorough test, I swear by MemTest86+, which boots from a USB stick and stresses each memory address for hours, exposing intermittent errors that the Windows tool might miss. When I first tackled a stubborn BSOD on a client’s workstation, a three‑pass MemTest86+ run uncovered a single bad chip on a dual‑rank DDR5 kit. If you need a quick reference, check out my RAM troubleshooting guide for detailed screenshots and command‑line tips that streamline the process.
Physical Inspection: Seats, Dust, and Compatibility
Once software diagnostics point to memory, it’s time to get hands‑on. Power down, unplug, and open your case—yes, even if you think it’s a “software” issue. Start by reseating each DIMM: gently release the clips, lift the module, and firmly re‑insert it until the latches click. Dust is a silent killer; use compressed air to clear the slots and heatsinks, paying special attention to the contact points. While you’re there, verify that the modules match your motherboard’s specifications: DDR5 is now the norm for high‑end builds in 2026, but many users still mix DDR4 with legacy boards, causing timing conflicts. Also, ensure you’re populating the correct channel pairs for dual‑channel operation; a mis‑aligned configuration can mimic a memory fault by reducing bandwidth dramatically.
BIOS/UEFI Settings: XMP, Timings, and Voltage
The firmware layer offers powerful tweaks, but it’s also a common source of instability if misconfigured. Most modern boards automatically detect installed RAM and apply the JEDEC standard timings, but to unlock the full potential of a high‑performance kit you’ll want to enable XMP (Extreme Memory Profile). In 2026, XMP 3.0 supports finer voltage control and per‑rank timing adjustments, which can be a double‑edged sword. I’ve seen users crank their DDR5 to 5600 MT/s with the default voltage and end up with a system that won’t POST. The safe approach is to start with the XMP profile, then run a short MemTest86+ pass. If errors appear, manually increase the DRAM voltage in 0.01 V increments and slightly relax the CAS latency. Document each change; a systematic approach saves hours of back‑and‑forth.
Software Interaction: Pagefile, Virtual Memory, and Windows 2024 Insights
Even perfect hardware can be throttled by poor software configuration. Windows 2026’s memory manager is smarter than ever, but the pagefile still plays a role when physical RAM fills up. I recommend leaving the pagefile on a fast SSD and allowing Windows to manage its size automatically—this prevents the “out of memory” errors that sometimes masquerade as hardware faults. If you’re running heavy AI workloads, consider increasing the virtual memory reserve to give the OS breathing room. For a deeper dive into how Windows balances speed and security, my Windows 2024 speed guide breaks down the latest memory‑management tweaks and how they impact real‑world performance.
Strategic Upgrades: Size, Channels, and Future‑Proofing
When it’s clear that your current kit can’t keep up, upgrading is the logical next step. In 2026, 32 GB is the sweet spot for most creators, while power users and gamers gravitate toward 64 GB or even 128 GB on motherboards that support quad‑channel DDR5. Remember that more RAM isn’t just about capacity; the configuration matters. Dual‑channel delivers roughly a 15 % boost in bandwidth over a single stick, and quad‑channel can add another 10‑15 % if your CPU and motherboard support it. I recently helped a client transition from a mismatched 16 GB (2 × 8 GB) kit to a matched 32 GB (2 × 16 GB) set, and their Photoshop render times dropped by 22 %. For guidance on picking the right kit, refer to my video card troubleshooting guide, which also covers how GPU memory interacts with system RAM in modern pipelines.
Debunking Common RAM Myths
There’s a lot of misinformation floating around forums and social media. One persistent myth is that “more RAM always equals faster performance.” In reality, once you exceed the workload’s memory demand, additional gigabytes offer diminishing returns and can even increase latency if the controller is overloaded. Another myth: “All brands are equal if the speed is the same.” Not true—timing, voltage stability, and the quality of the PCB can affect overclock headroom and long‑term reliability. Finally, many believe that “RAM doesn’t need to be replaced unless the computer is dead.” In fact, proactive replacement after 4‑5 years can prevent surprise crashes, especially as newer software leans heavily on memory bandwidth. By understanding these nuances, you’ll make smarter purchasing decisions and keep your rig running smoothly for years.
Putting It All Together: Your RAM Troubleshooting Checklist
To wrap up, here’s a concise checklist you can keep on your desk: 1) Identify symptoms (BSOD, random reboots, app crashes). 2) Run Windows Memory Diagnostic, then MemTest86+ for a thorough scan. 3) Power down, reseat modules, and clear dust. 4) Verify BIOS settings—enable XMP, adjust voltage if needed. 5) Ensure pagefile and virtual memory are optimized. 6) If errors persist, test each stick individually to isolate the bad module. 7) Plan upgrades with capacity and channel configuration in mind. 8) Debunk myths and stay informed on the latest DDR5 specs. Follow these steps, and you’ll cut down on guesswork, avoid costly hardware swaps, and restore that buttery‑smooth performance you expect from a 2026 machine. Got a stubborn RAM issue? Drop a comment below, and let’s troubleshoot it together.




